> ## Documentation Index
> Fetch the complete documentation index at: https://docs.appcharge.com/llms.txt
> Use this file to discover all available pages before exploring further.
# Set and Manage Translations
This article explains how to set and manage translations in the Publisher Dashboard. You can also set and manage translations using the [Translations API service](/../../api-reference/translations/introduction). Updates made through the API appear in the CSV file, and any changes to the CSV file are synced back to the API.
## Set translations
Follow these steps to translate content:
### Step 1 | Add languages
[Add your languages](./add-and-manage-languages) in the Publisher Dashboard. Each time you add a language, a new column is created in the CSV files.
### Step 2 | Download the translation files
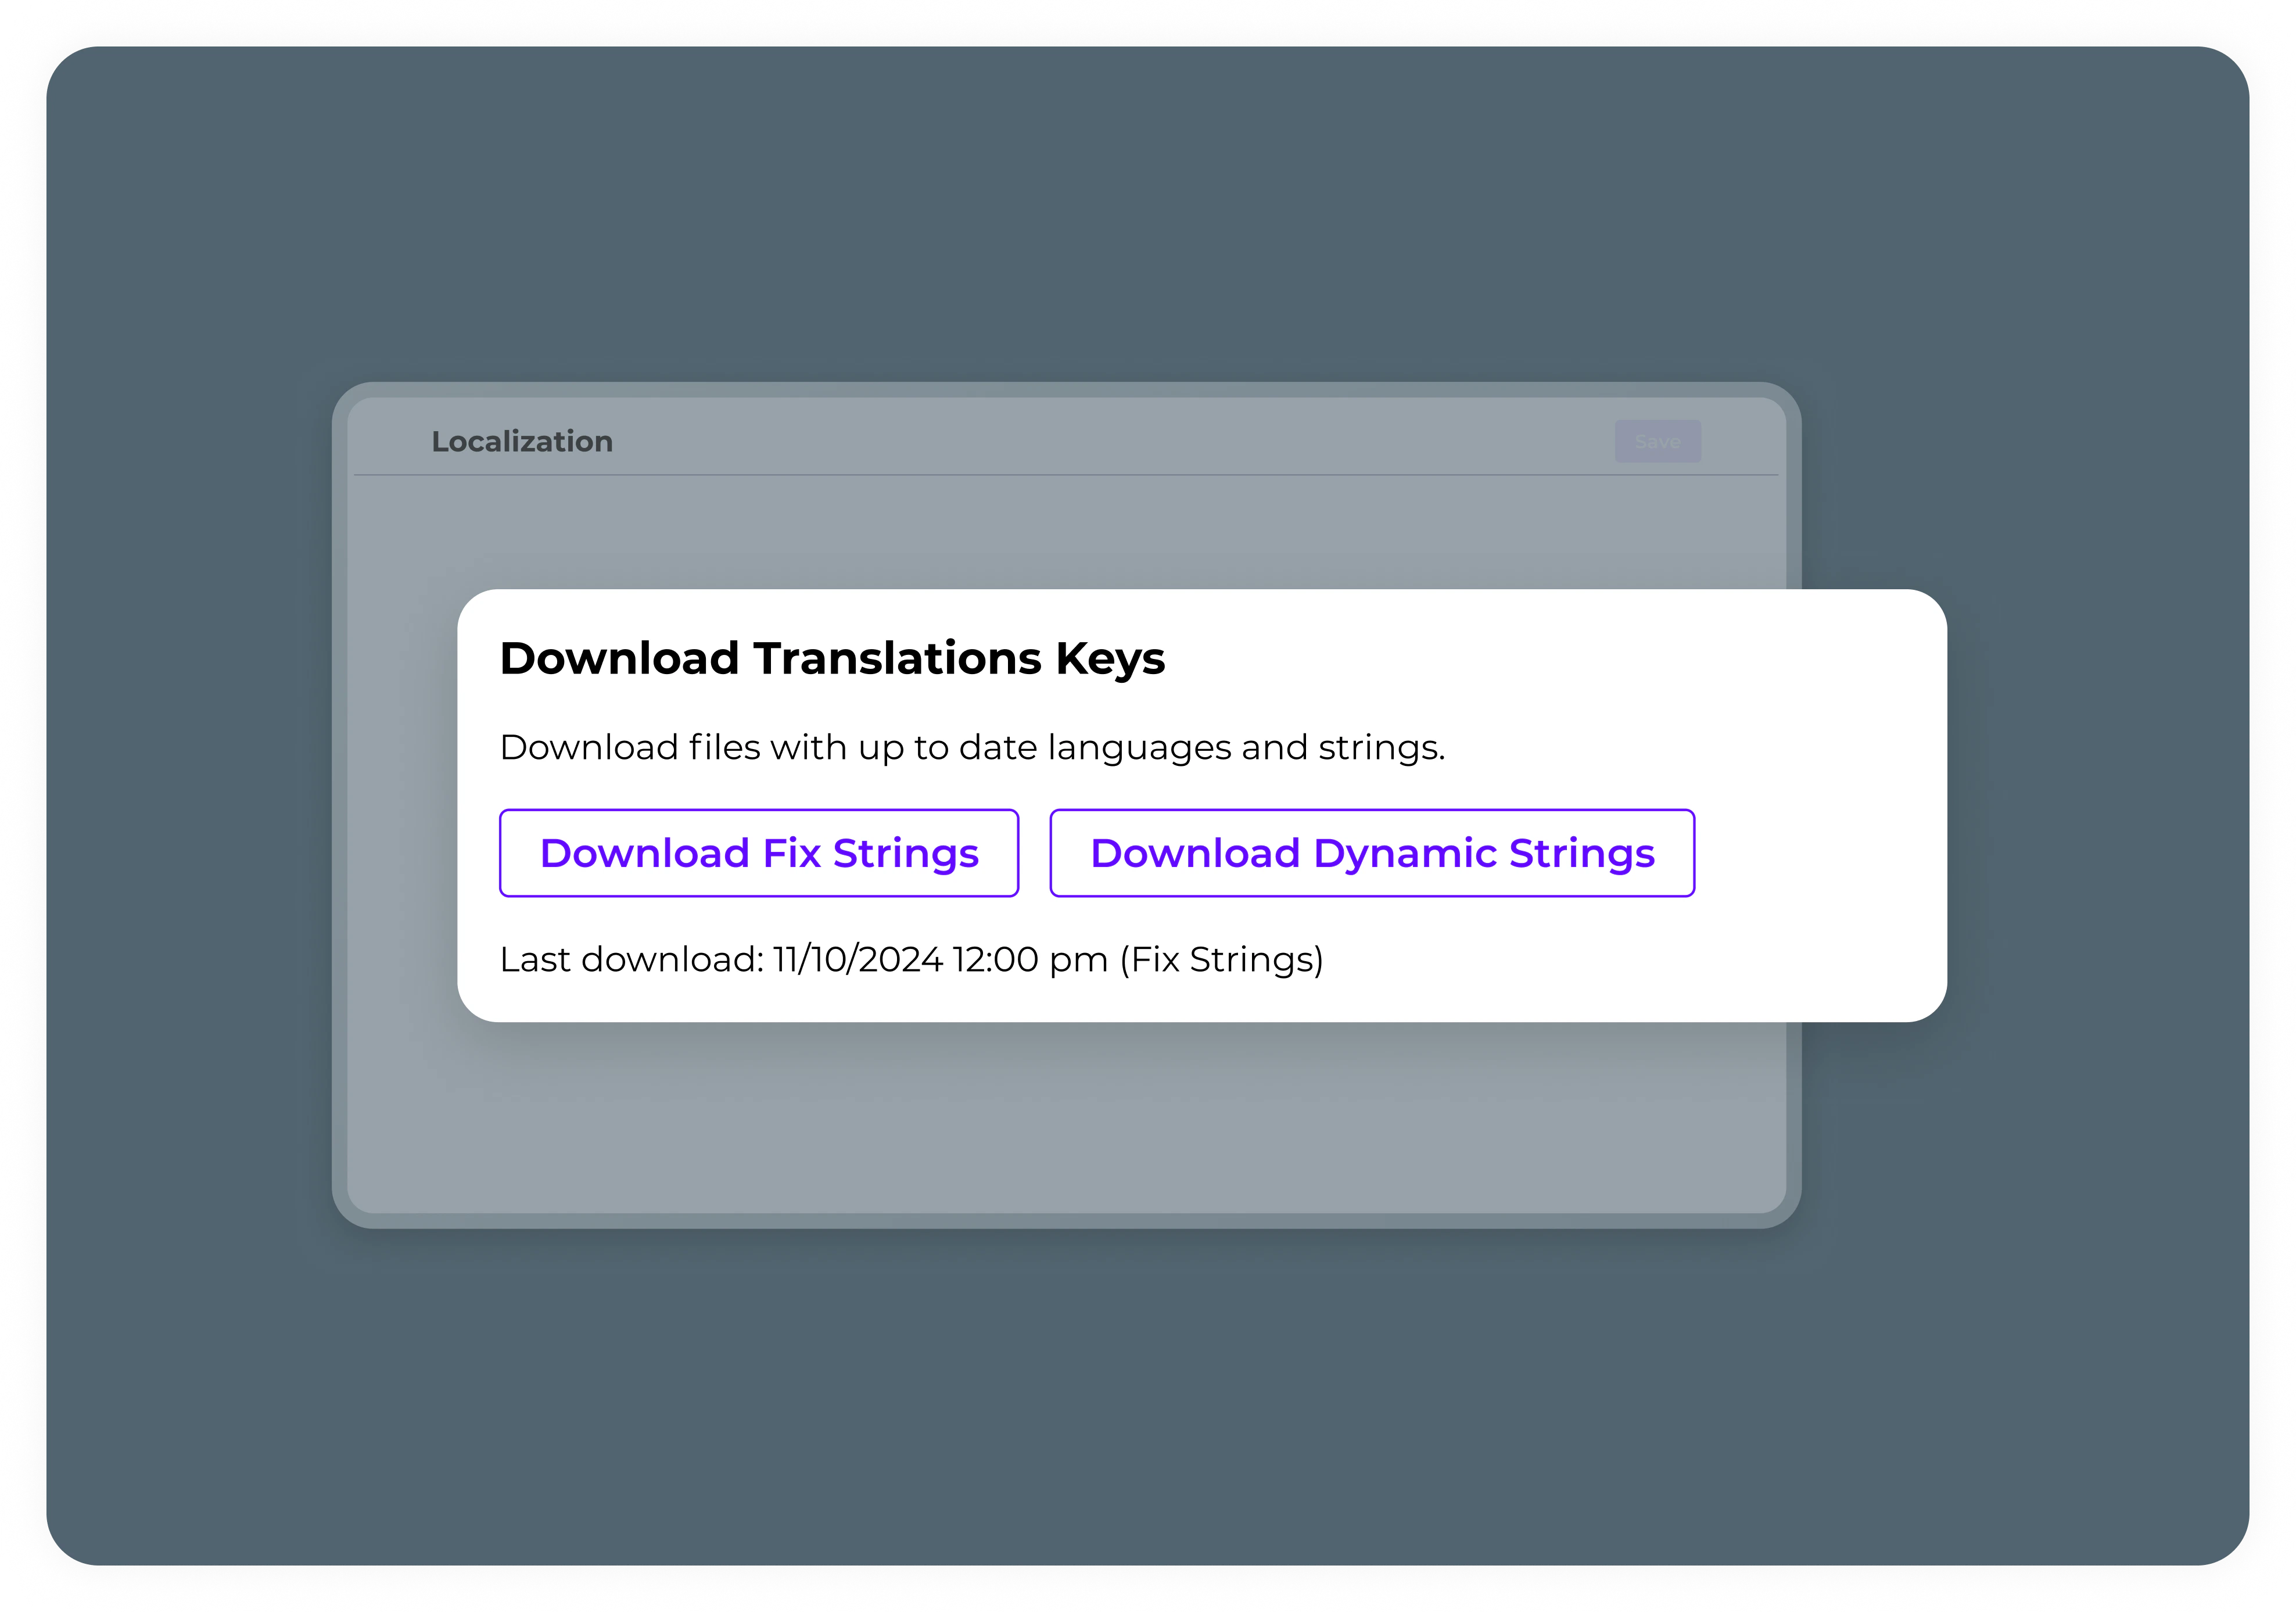
Download the 2 CSV translation files to view all translatable fields:
1. Go to the **Localization** tab.
2. Scroll to **Download Up-to-Date Translations File**.
3. Click **Download Static Strings** and **Download Dynamic Strings** to download both CSV files.
 ### Step 3 | Add translations
Add translations for each string in the appropriate language column in both the static and dynamic CSV files.
To add translations:
1. Open the 2 CSV files. They contain the following columns:
| Column | Description |
| ------------------- | --------------------------------------------------------- |
| **Key** | The identifier for the string. |
| **English** | The default English text that requires translation. |
| **Other Languages** | Columns where you can add translations for each language. |
2. Enter your translations in the appropriate language columns and save the files.
* You can't modify or delete the English text.
* Column headers are fixed and cannot be changed.
### Step 3 | Add translations
Add translations for each string in the appropriate language column in both the static and dynamic CSV files.
To add translations:
1. Open the 2 CSV files. They contain the following columns:
| Column | Description |
| ------------------- | --------------------------------------------------------- |
| **Key** | The identifier for the string. |
| **English** | The default English text that requires translation. |
| **Other Languages** | Columns where you can add translations for each language. |
2. Enter your translations in the appropriate language columns and save the files.
* You can't modify or delete the English text.
* Column headers are fixed and cannot be changed.
 ### Step 4 | Upload translations
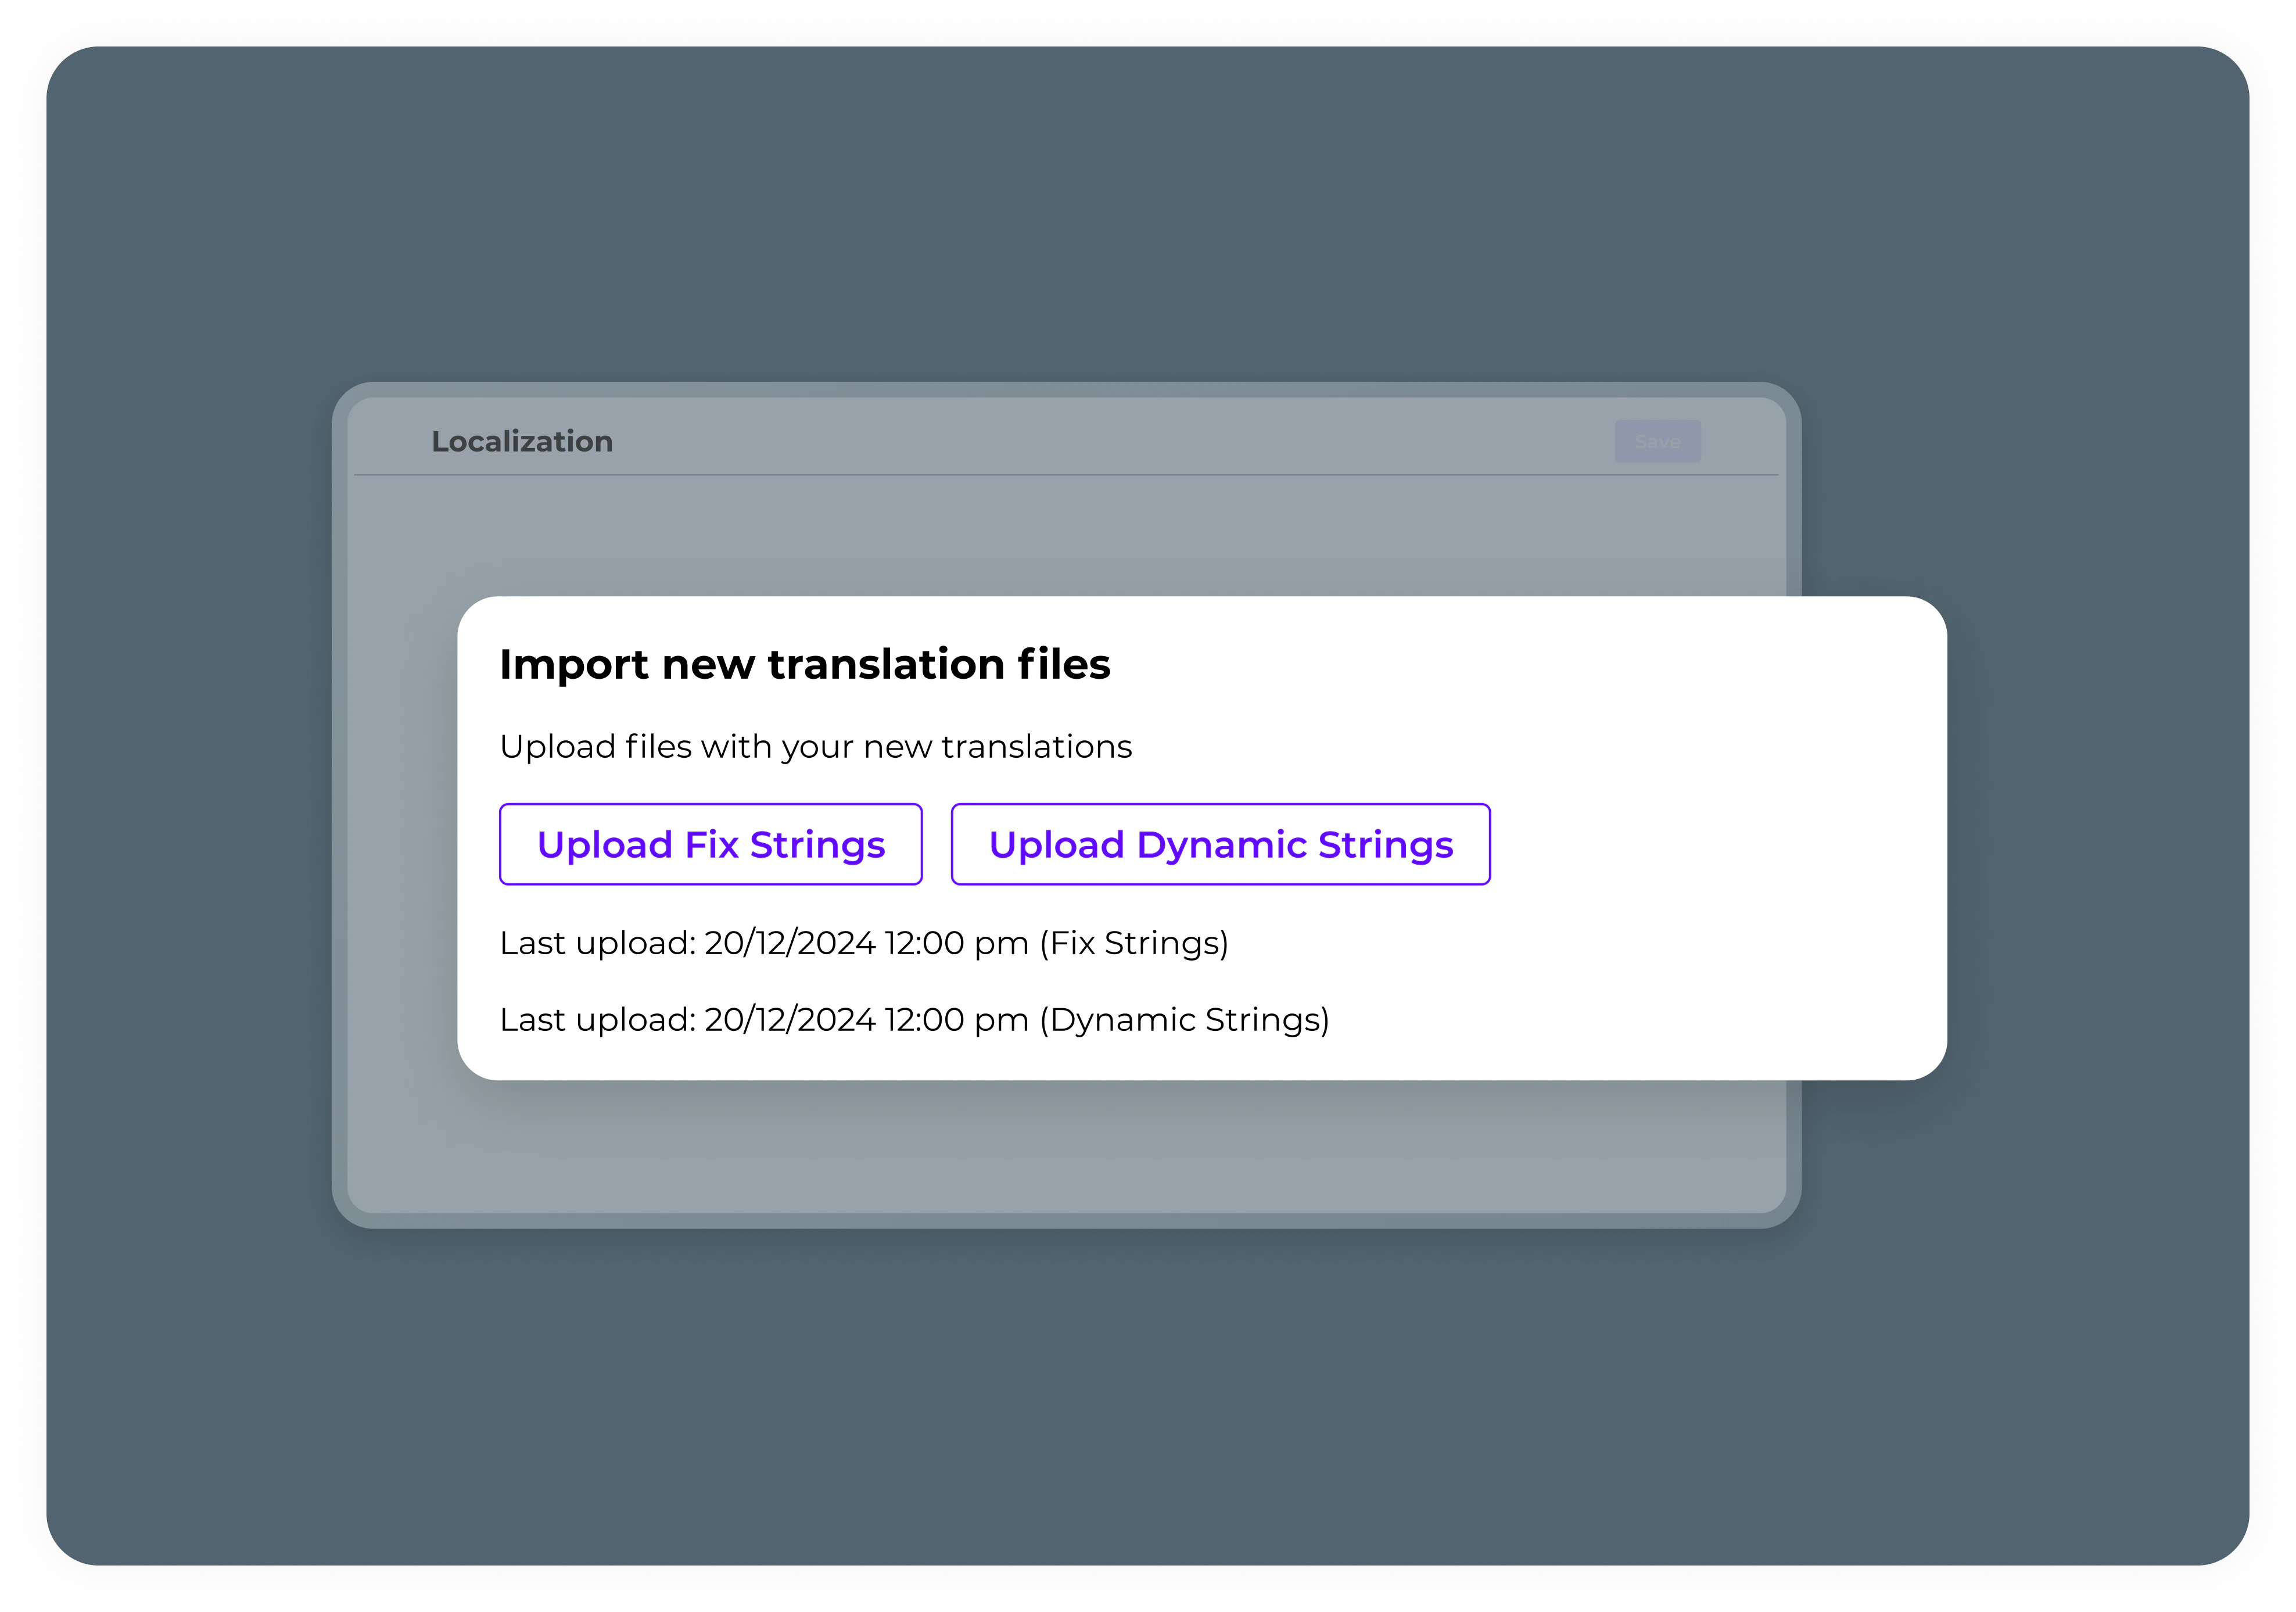
After adding your translations, upload the files back into the Publisher Dashboard:
1. In the **Localization** tab, scroll to **Upload New Translations Files**.
2. Upload the 2 CSV files that contain your translations.
### Step 4 | Upload translations
After adding your translations, upload the files back into the Publisher Dashboard:
1. In the **Localization** tab, scroll to **Upload New Translations Files**.
2. Upload the 2 CSV files that contain your translations.
 ### Step 5 | Activate the languages
To activate the languages:
1. In the **Localization** tab, scroll to **Manage Languages**.
2. Turn on the toggle for each language you want to make available to customers.
To keep translations current, repeat steps 2- 4 regularly.
## Edit or delete translations
To edit or delete translations:
1. Go to the **Localization** tab.
2. Scroll to **Download Up-to-Date Translations File**.
3. Click **Download Static Strings** and **Download Dynamic Strings** to re-download the CSV files.
4. Edit or delete the translations in the appropriate language columns and save the files.
5. Scroll to **Upload New Translations Files** and upload the updated files back into the Publisher Dashboard.
If you delete a translation, the text will revert to the default English version.
### Step 5 | Activate the languages
To activate the languages:
1. In the **Localization** tab, scroll to **Manage Languages**.
2. Turn on the toggle for each language you want to make available to customers.
To keep translations current, repeat steps 2- 4 regularly.
## Edit or delete translations
To edit or delete translations:
1. Go to the **Localization** tab.
2. Scroll to **Download Up-to-Date Translations File**.
3. Click **Download Static Strings** and **Download Dynamic Strings** to re-download the CSV files.
4. Edit or delete the translations in the appropriate language columns and save the files.
5. Scroll to **Upload New Translations Files** and upload the updated files back into the Publisher Dashboard.
If you delete a translation, the text will revert to the default English version.