Player Authentication
Add Apple SSO
On Apple dashboard
To Integrate Apple SSO login on the Appcharge webstore, you’ll need to follow these steps:
On the Apple dashboard - Create an App ID and configure Sign in with Apple:
- Go to the Apple Developer Portal and sign in with your Apple Developer account.
- Click on your account.
- In the “Certificates, Ids & Profiles” section please select “Identifiers”.
- Click the ”+” button to create a new App ID.
- Edit existing App / Choose “App” and click “Continue”.
-
Fill in the required fields:
- Description
- Bundle ID
- Under “Capabilities” select “Sign in with Apple”. Click “Continue” and then click “Register” to create the App ID. After registering you should be redirected back to the identifiers page.
Create a Service ID for your web application:
- In the “Certificates, Ids & Profiles” section please select “Identifiers”.
- Click the ”+” button and select “Services IDs”, then click “Continue”.
-
Fill in the required fields:
- Description
- Identifier - reversed domain click “Continue” and then click “Register”. After registering you should be redirected back to the identifiers page.
- Click on the newly created Service ID, and a details page will open. Select the checkbox next to the “Sign in with Apple” capability, and then click “Configure”.
-
Add your domain and redirect URLs as follows:
i. Add your domain in the “Domains and Subdomains” section. You’ll need to verify your domain by following the instructions provided by Apple.
- Example for store domain: https://shop.sweetsugarbakery.com
- Example for return URL: https://shop.sweetsugarbakery.com/login?apple=true
Create a private key for client authentication:
- In the “Certificates, Ids & Profiles” section, click “Keys”.
- Click the ”+” button to create a new key.
- Fill in the key name, check “Sign in with Apple” and click “Configure”.
- Select the primary App ID you created earlier, then click “Save” and “Continue”.
- Review the key details and click “Register”.
- Download the private key (.p8 file) and securely store it. You’ll need this to authenticate your server.
See an example of how to open the Player Token generated when a player uses the Sign in with Apple button on the Appcharge webstore:
Apple Sign-In: Supported Methods
Appcharge supports bothcode and id_token methods for Apple Sign-In.
id_token: A JWT (JSON Web Token) issued by Apple containing information about the authenticated user.code: A short-lived authorization code used for server-to-server communication to fetch access tokens.
code method. To adjust this configuration, please contact the Appcharge support team.
For further details on Apple’s implementation, refer to their documentation.
On Appcharge Dashboard
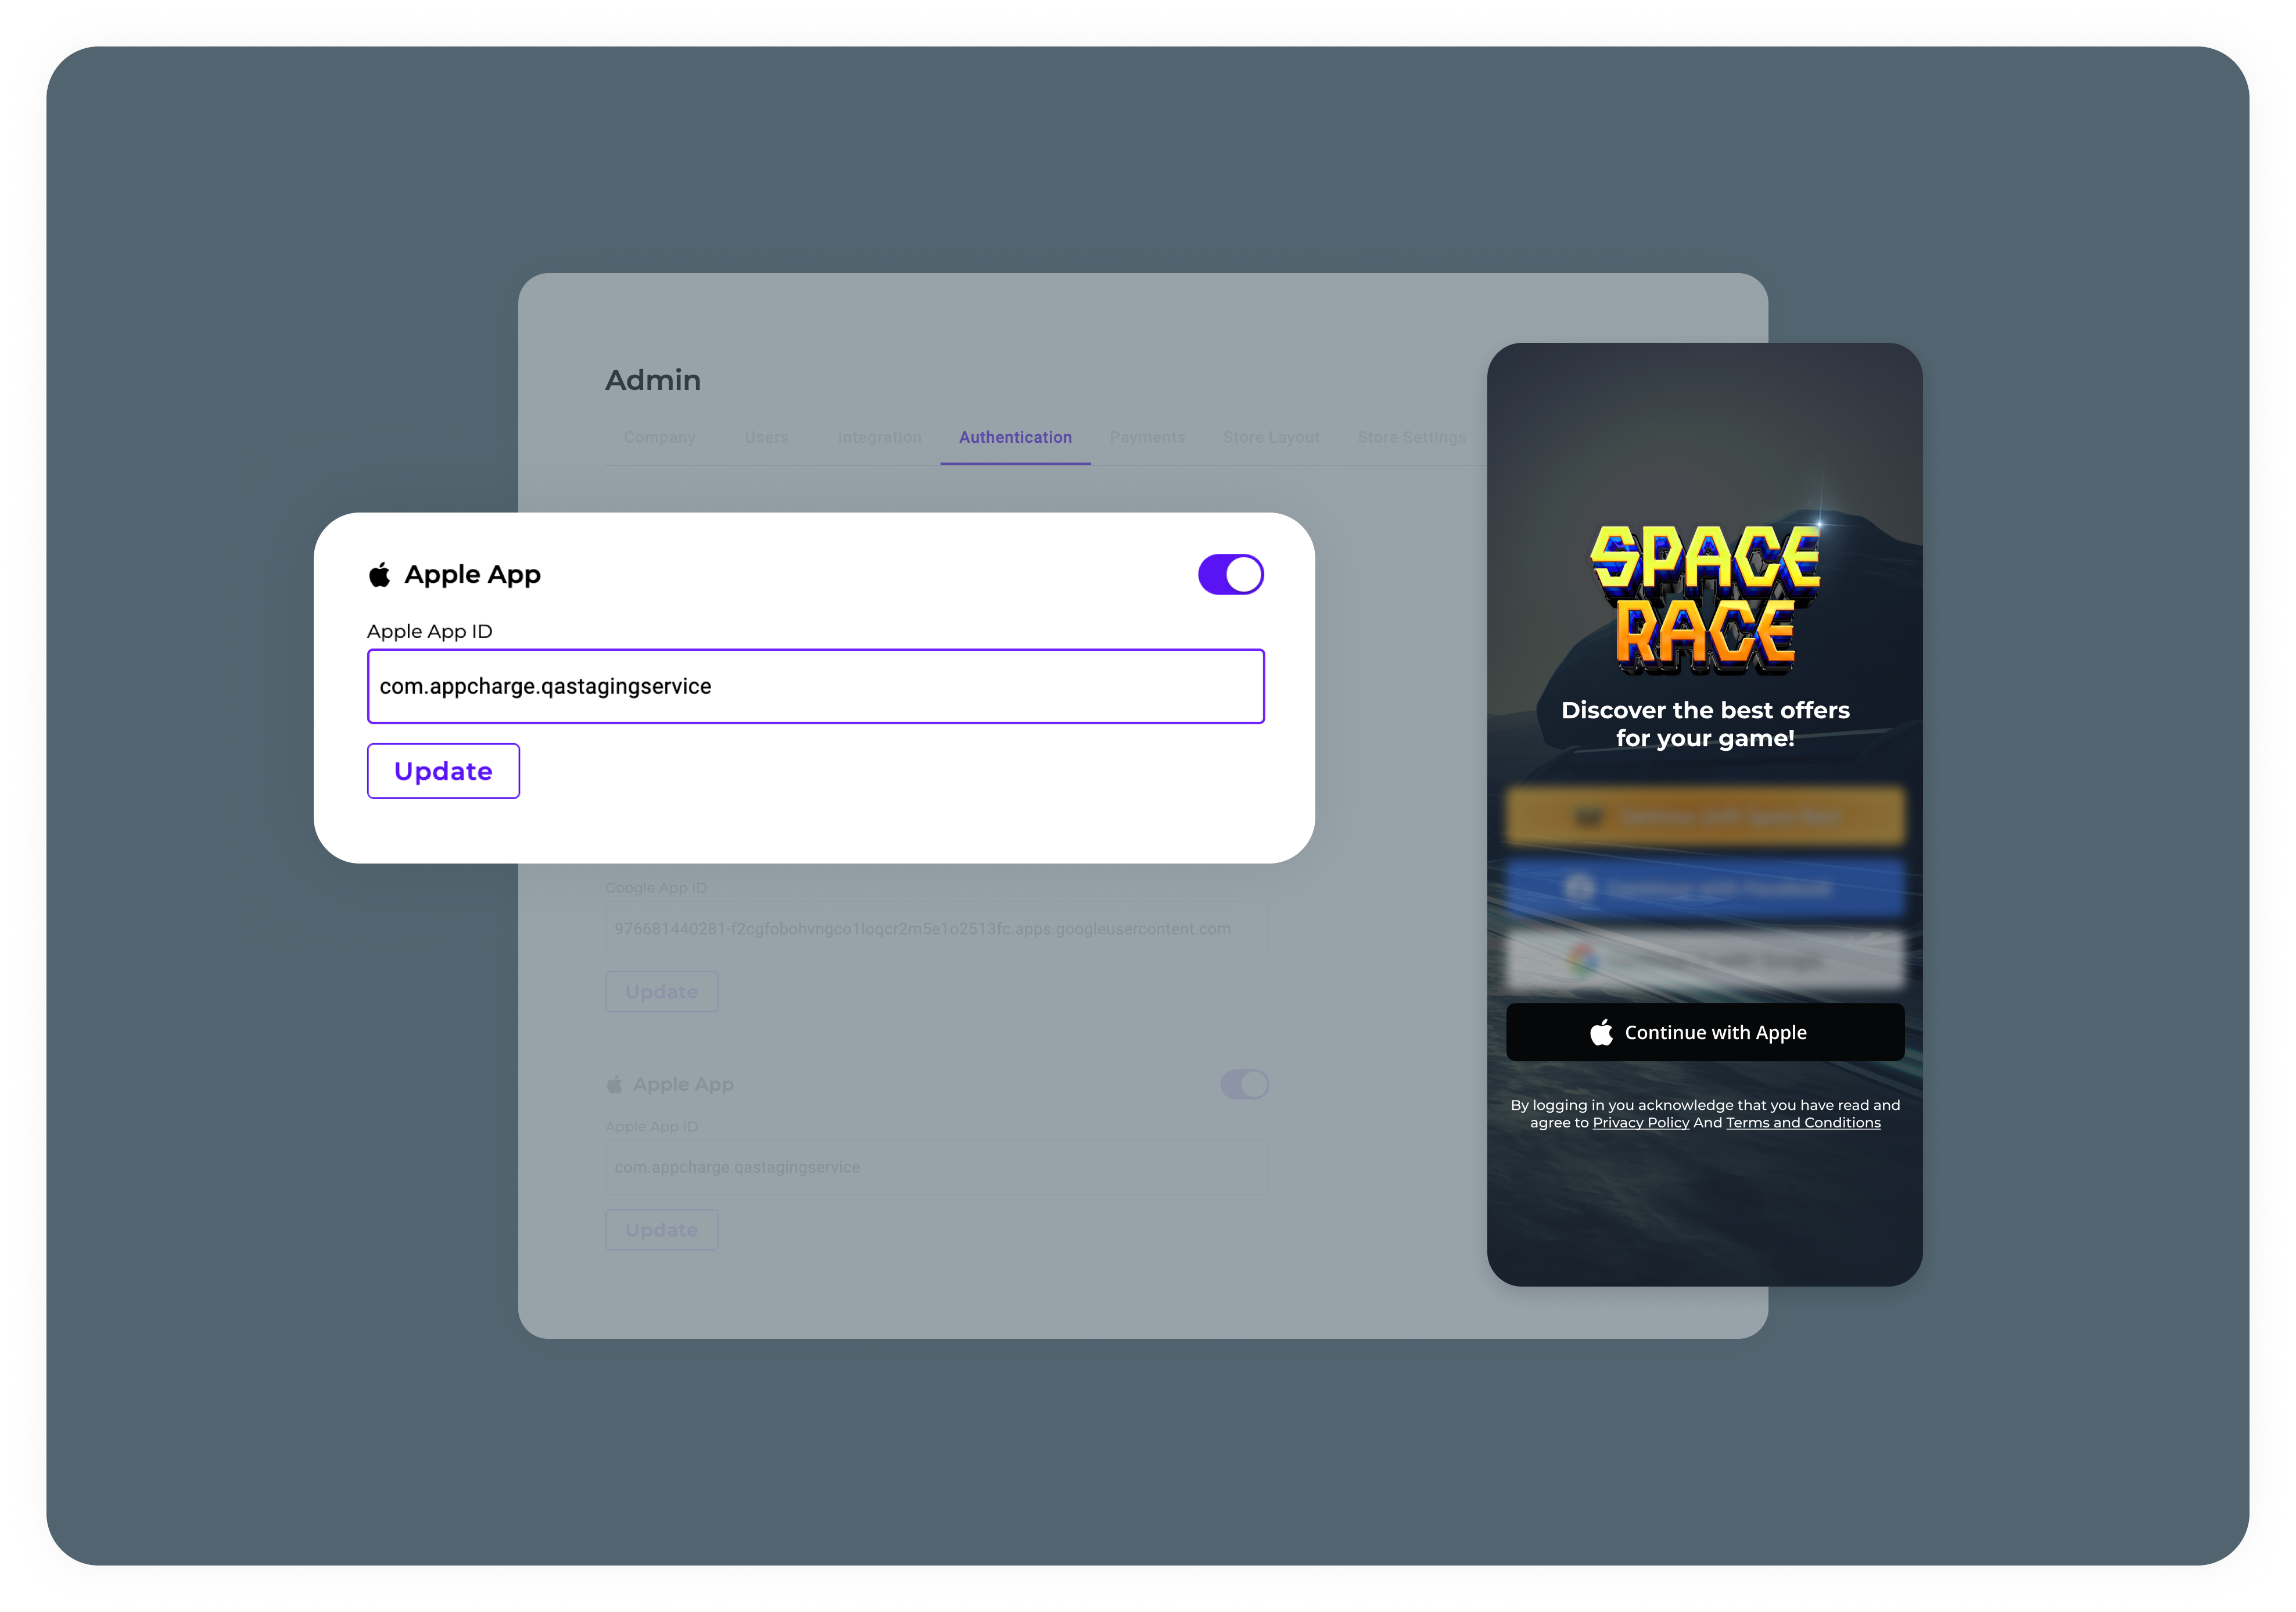
- In the publisher dashboard, -> Admin area -> authentication tab, activate Apple App and add the Apple App ID
- The Sign in with Apple will be presented in the Appcharge webstore
- Once a player uses this auth method, a Player Authentication webhook containing the token generated by Apple will be sent.

