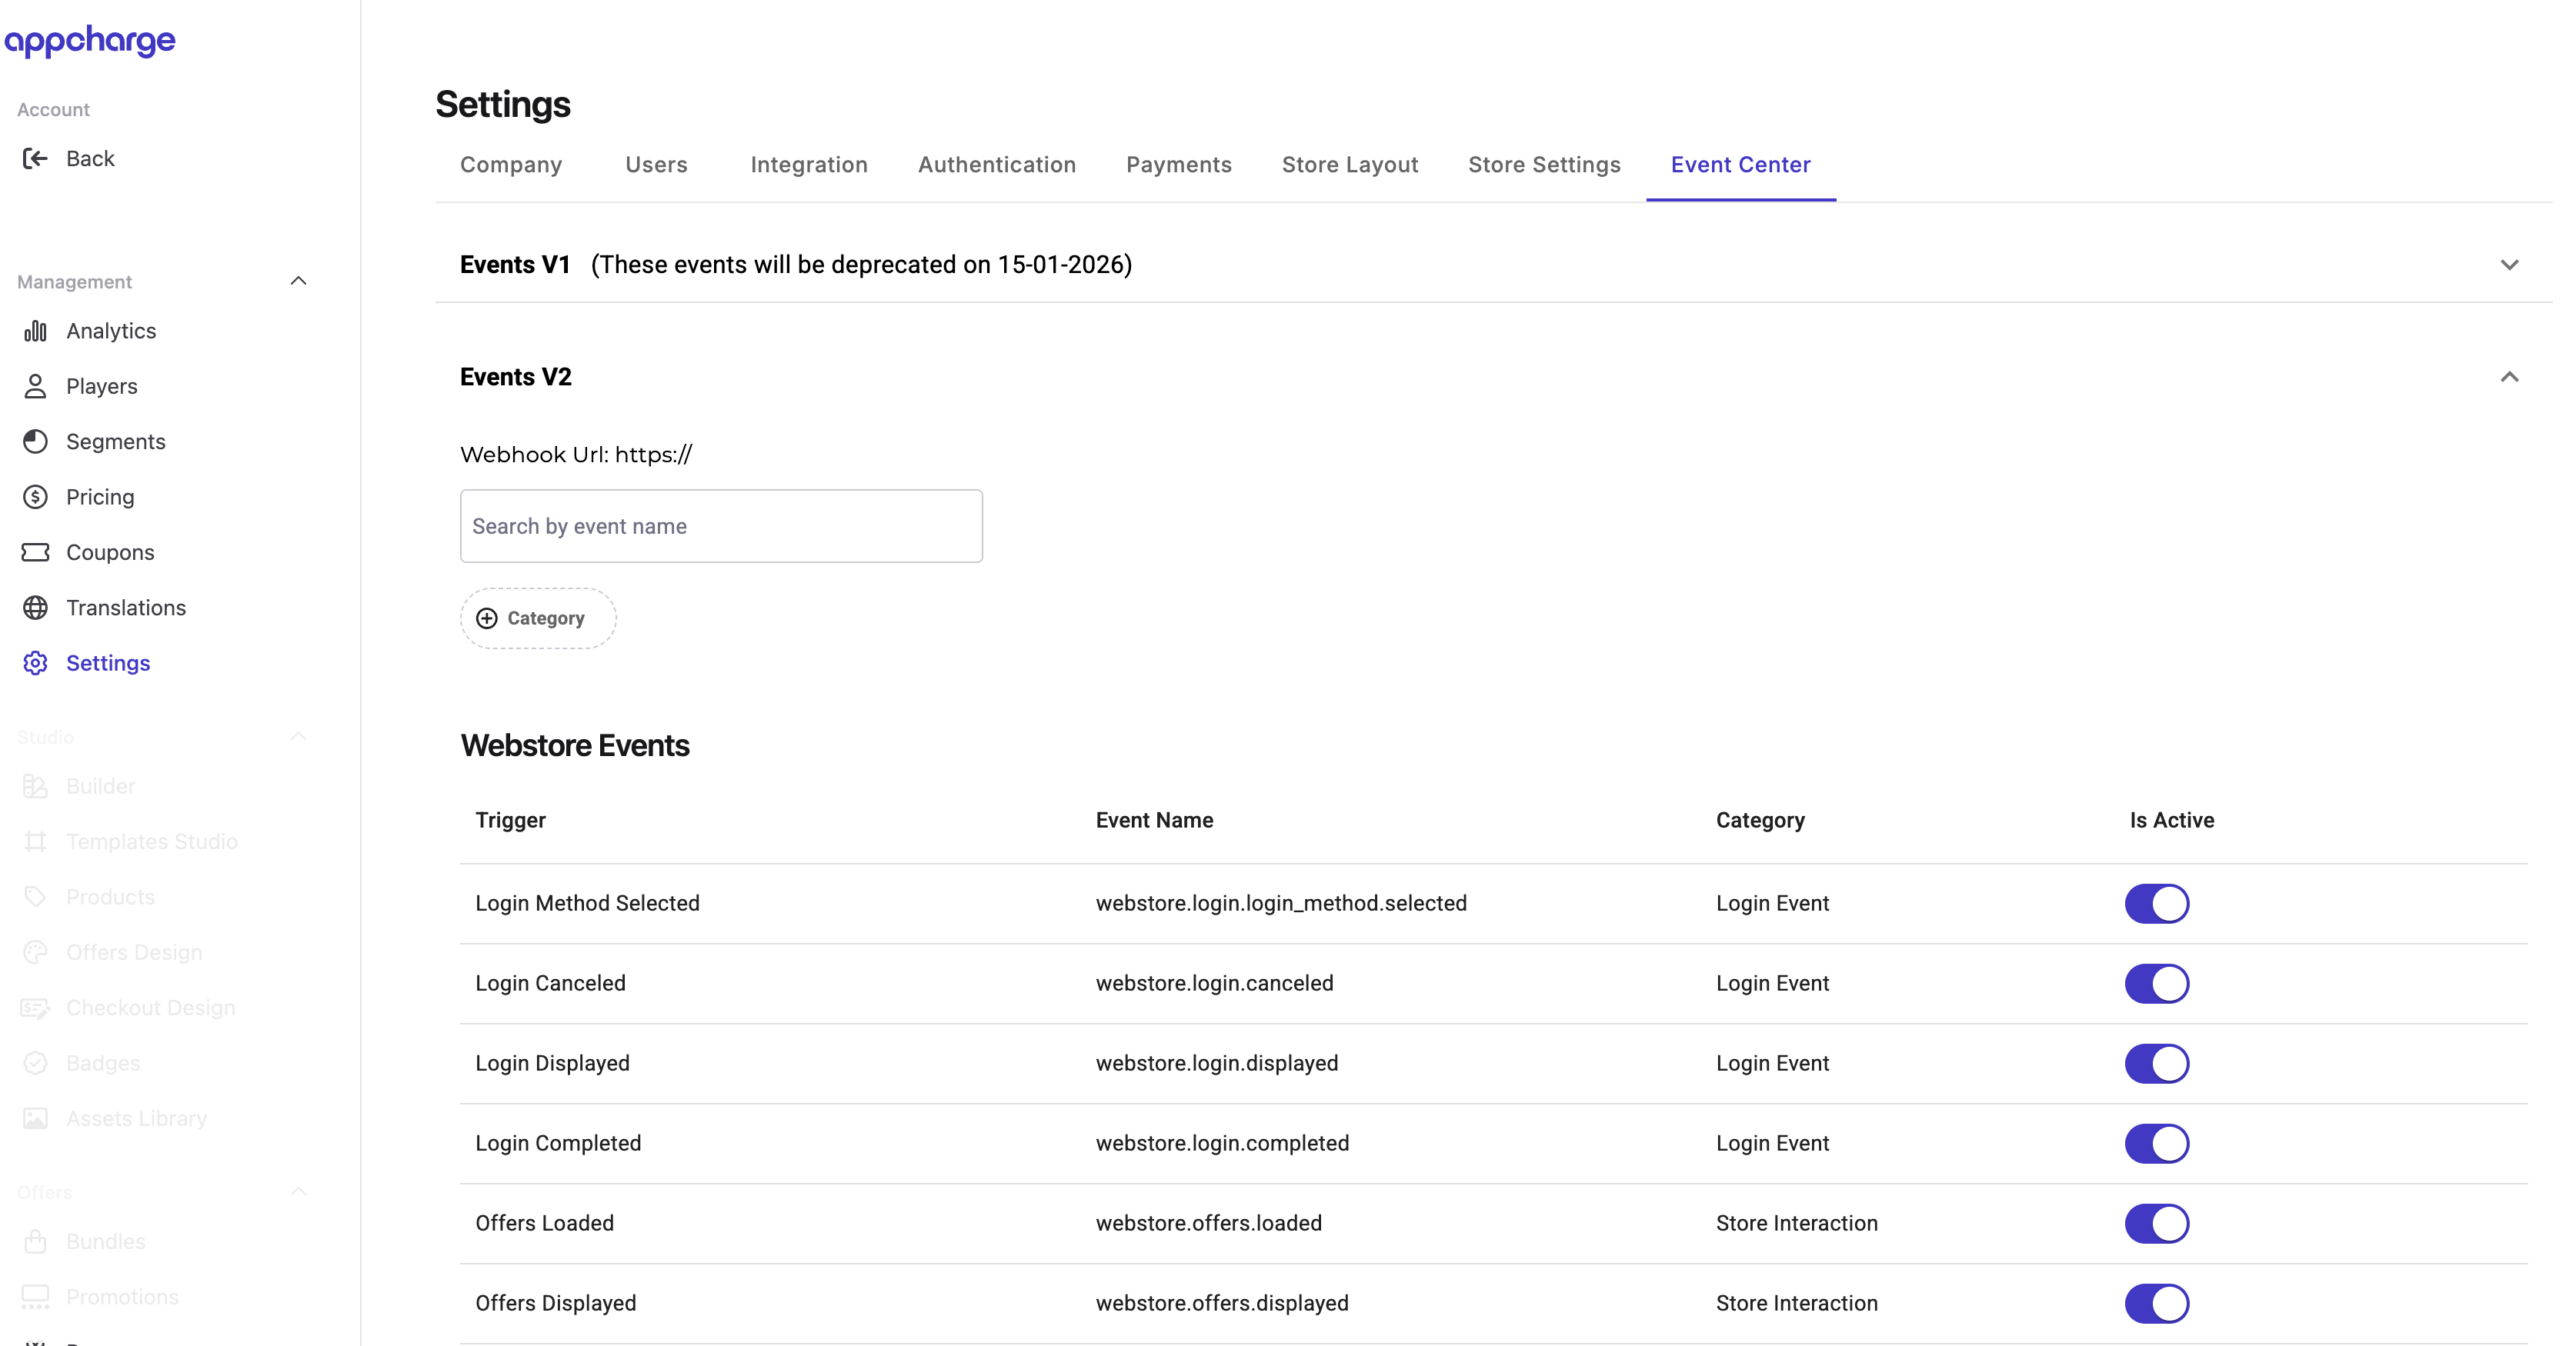
| Web Store Events | Web Store Login Displayed | Triggered when the login page of the web store is displayed. Used to track login funnel entry. | |
| Web Store Login Method Selected | Triggered when a login method in the web store is selected. For example, a social media platform. | |
| Web Store Login Completed | Triggered when the player successfully completes the web store login process and is authenticated. | |
| Web Store Login Canceled | Triggered when the player closes or leaves the web store login process before completing it. | |
| Web Store Displayed | Triggered when the web store page is displayed. | |
| Offers Loaded | Triggered when the backend successfully returns the list of offers configured to be shown to the player. This event confirms that the offers are ready to be rendered on the page. | |
| Offers Displayed | Triggered when 100% of an offer’s visual element is visible to the player. Events are batched every second and include only newly shown offers, excluding previously reported ones. The list resets after a page refresh. | |
| Offer Popup Closed | Triggered when a player closes a popup offer in the web store. | |
| Progress Bar Points Granted | Triggered when a player is granted Progress Bar points. | |
| Progress Bar Mission Started | Triggered when a new Progress Bar mission starts and is revealed to the player. | |
| Progress Bar Mission Completed | Triggered when a Progress Bar mission is completed. | |
| Web Store Approval Request Displayed | Triggered when the Approval Request in the checkout link offer is displayed. | |
| Web Store Approval Request Closed | Triggered when the Approval Request in the checkout link offer is closed. | |
| Personalization Response Error | Triggered when the Personalization API returns an unexpected or invalid response. Typical causes include schema mismatches, incorrect data types, timeouts, empty offer lists, or non-existent external IDs. | |
| Checkout Events | Order Created | Triggered when a new order session is initialized, either from the web store or via direct API call. | |
| Payment Resolved | Triggered when a payment is finalized, successfully or unsuccessfully. | |
| Order Completed | Triggered when an order is successfully paid and processed, and confirmation is sent to the publisher or game. | |
| Order Canceled | Triggered when an order is cancelled by the player or through a system timeout before completion. | |
| Order Refunded | Triggered when an order is refunded, either manually or automatically. | |
| Dispute Opened | Triggered when a payment dispute is opened, for example, a chargeback is initiated by the player with their payment provider. | |
| Dispute Resolved | Triggered when a dispute is resolved in favor of the publisher or Appcharge. | |
| Game Portal Events | Portal Login Displayed | Triggered event triggered when the login page of the game portal is displayed. Used to track login funnel entry. | |
| Portal Login Method Selected | Triggered event triggered when a login method is selected in the game portal. For example, a social media platform. | |
| Portal Login Completed | Triggered when the player successfully completes the game portal login process and is authenticated. | |
| Portal Login Canceled | Triggered when the player closes or leaves the game portal login process before completing it. | |
| Portal Page Displayed | Triggered when a page in the game portal is displayed. | |
| Portal Content Displayed | Triggered when content on a game portal page is displayed. | |
| Portal Approval Request Displayed | Triggered when the Approval Request in the checkout link offer is displayed. | |
| Portal Approval Request Closed | Triggered when the Approval Request in the checkout link offer is closed. | |
| Portal Footer Clicked | Triggered when then game portal footer was clicked. | |
| Portal Block Clicked | Triggered when a Game Portal block is clicked. | |