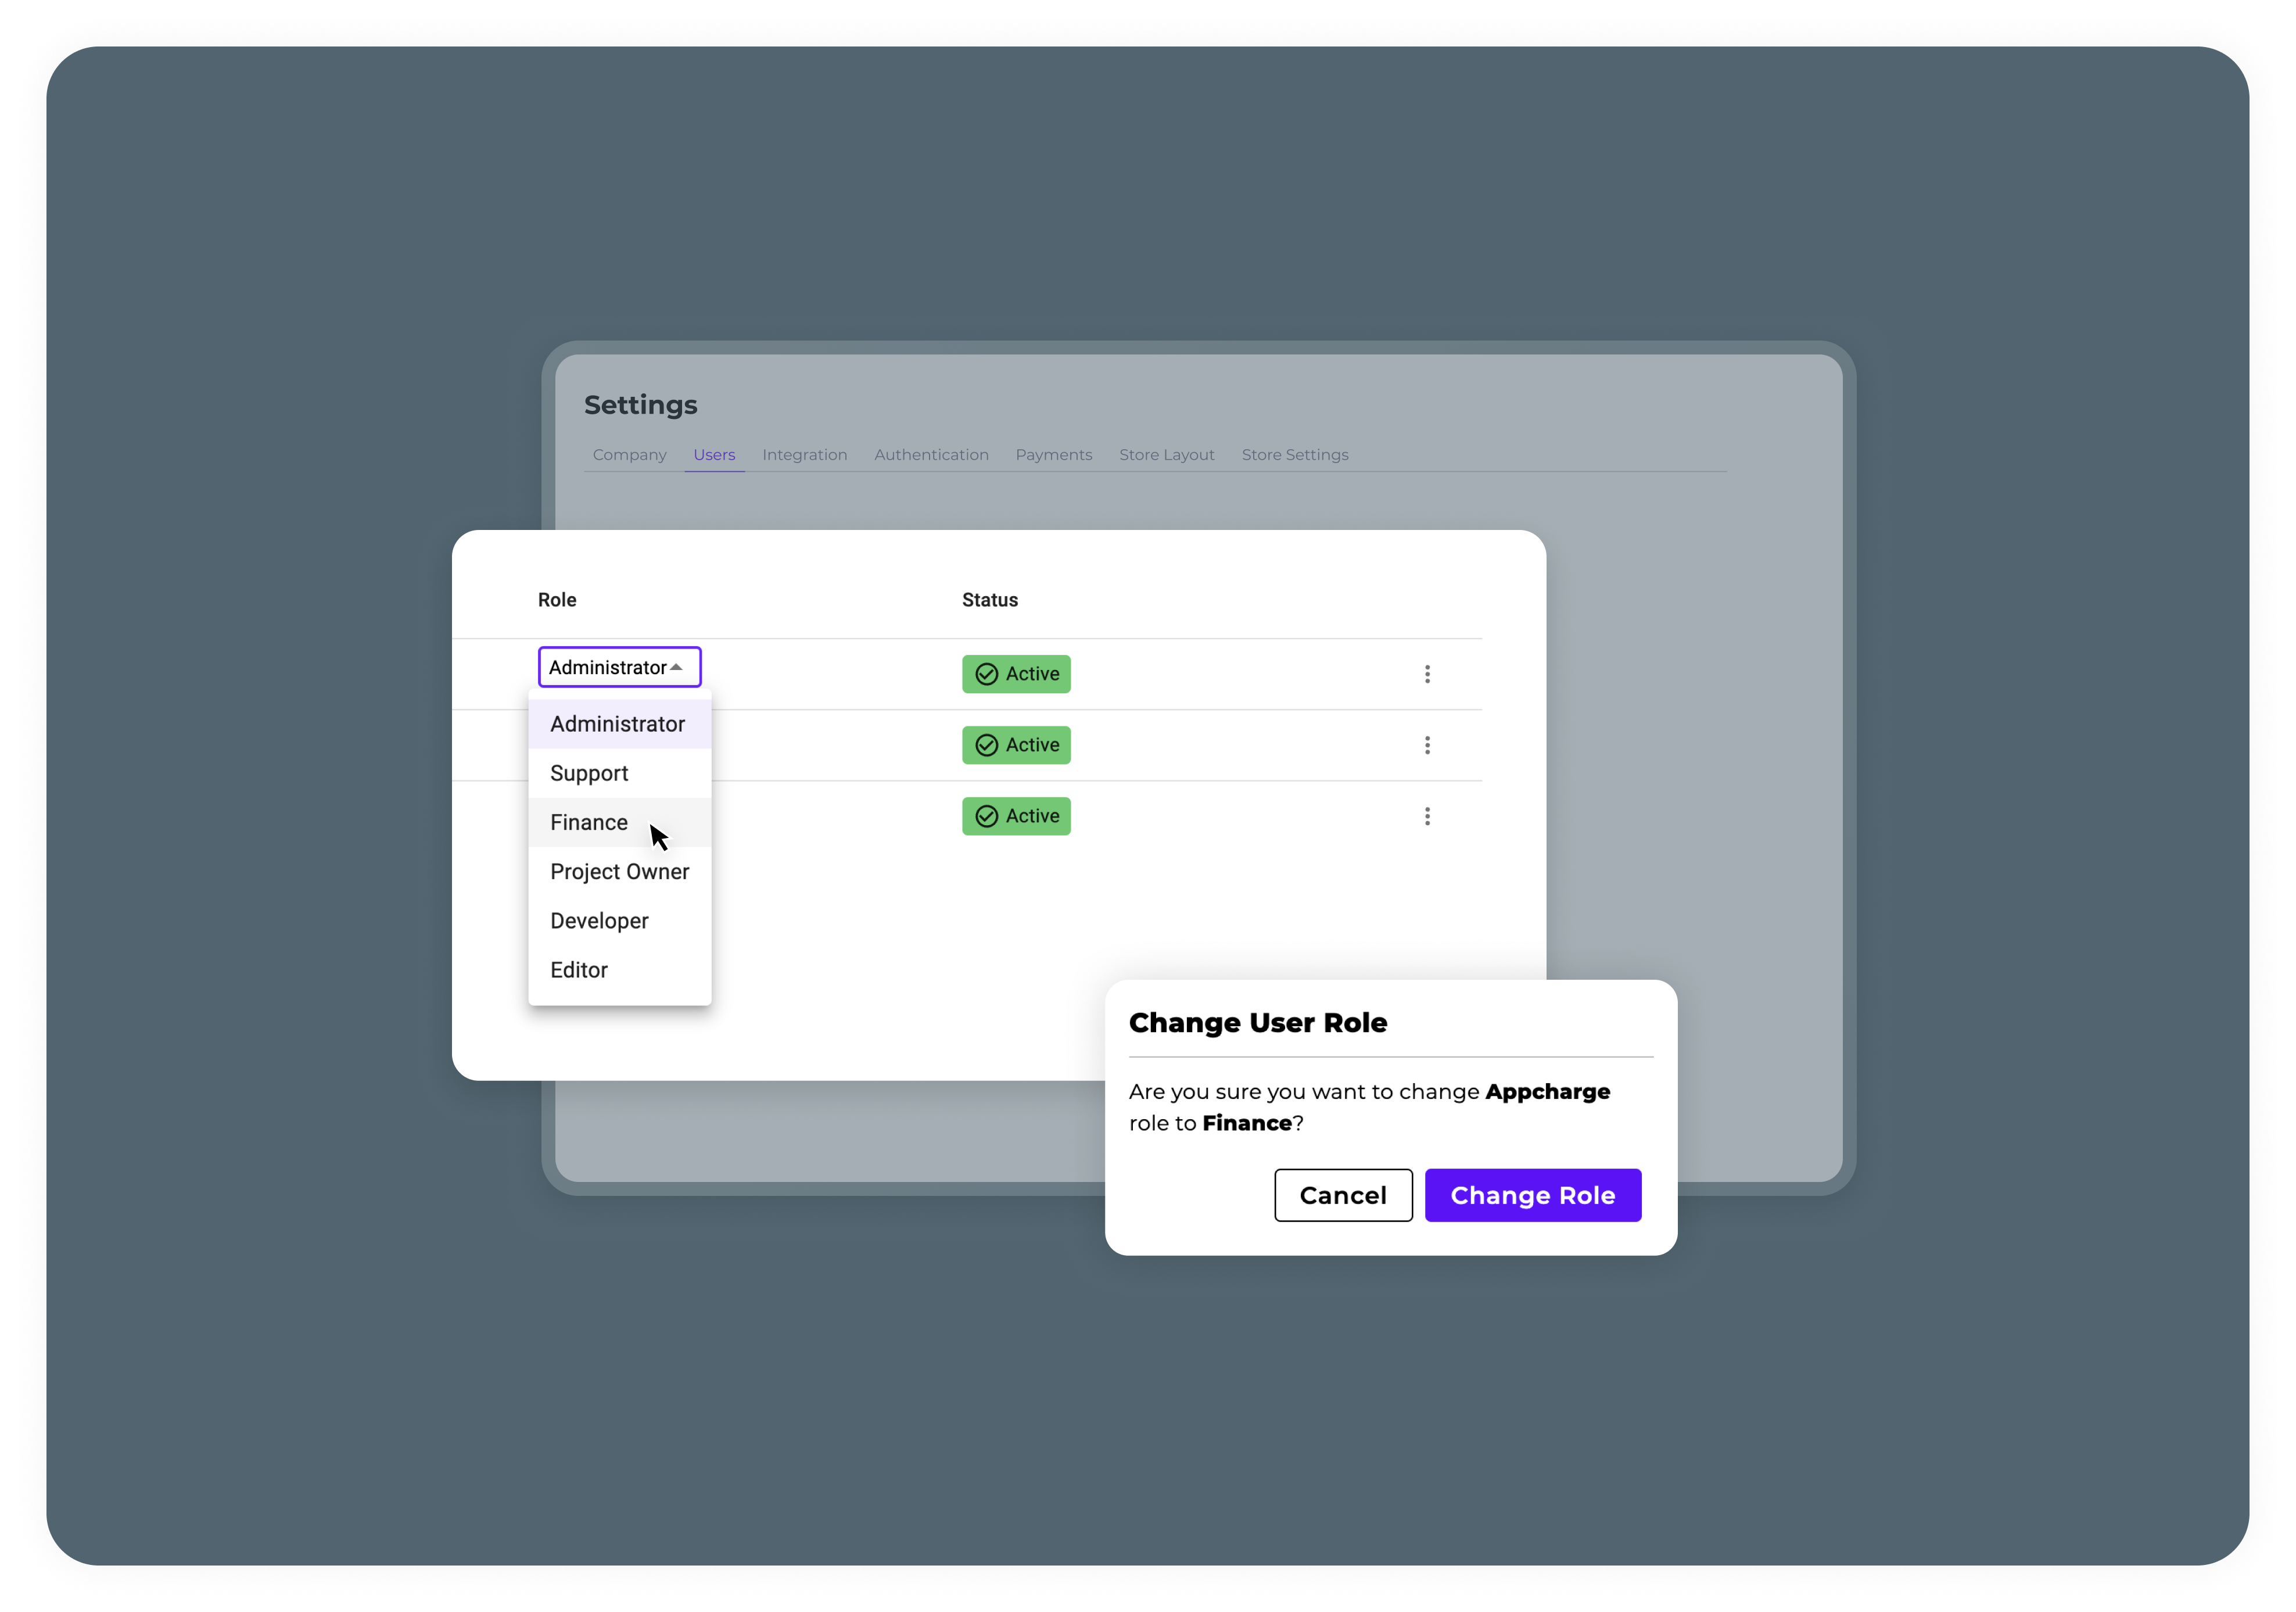
Add your company information
To update the company information in the Company tab within the Admin Settings:-
Navigate to Admin Settings:
- Go to Settings in the sidebar under Management.
- Select Admin and open the Company tab.
-
Modify Company Details as Needed:
- Company Name: Enter or update the name of your company.
- Phone Number: Provide or edit the phone number, separating the country code and number.
- Support Email: Enter an email address where users can contact support.
- Domain: Set or modify your company’s domain.
- Address: Add or update the company’s address.
- Terms and Conditions: Provide the URL for the Terms and Conditions.
- Privacy Policy: Provide the URL for the Priacy Policy.
-
Save Changes:
- After making your desired updates, click the ‘Update’ button to save changes.
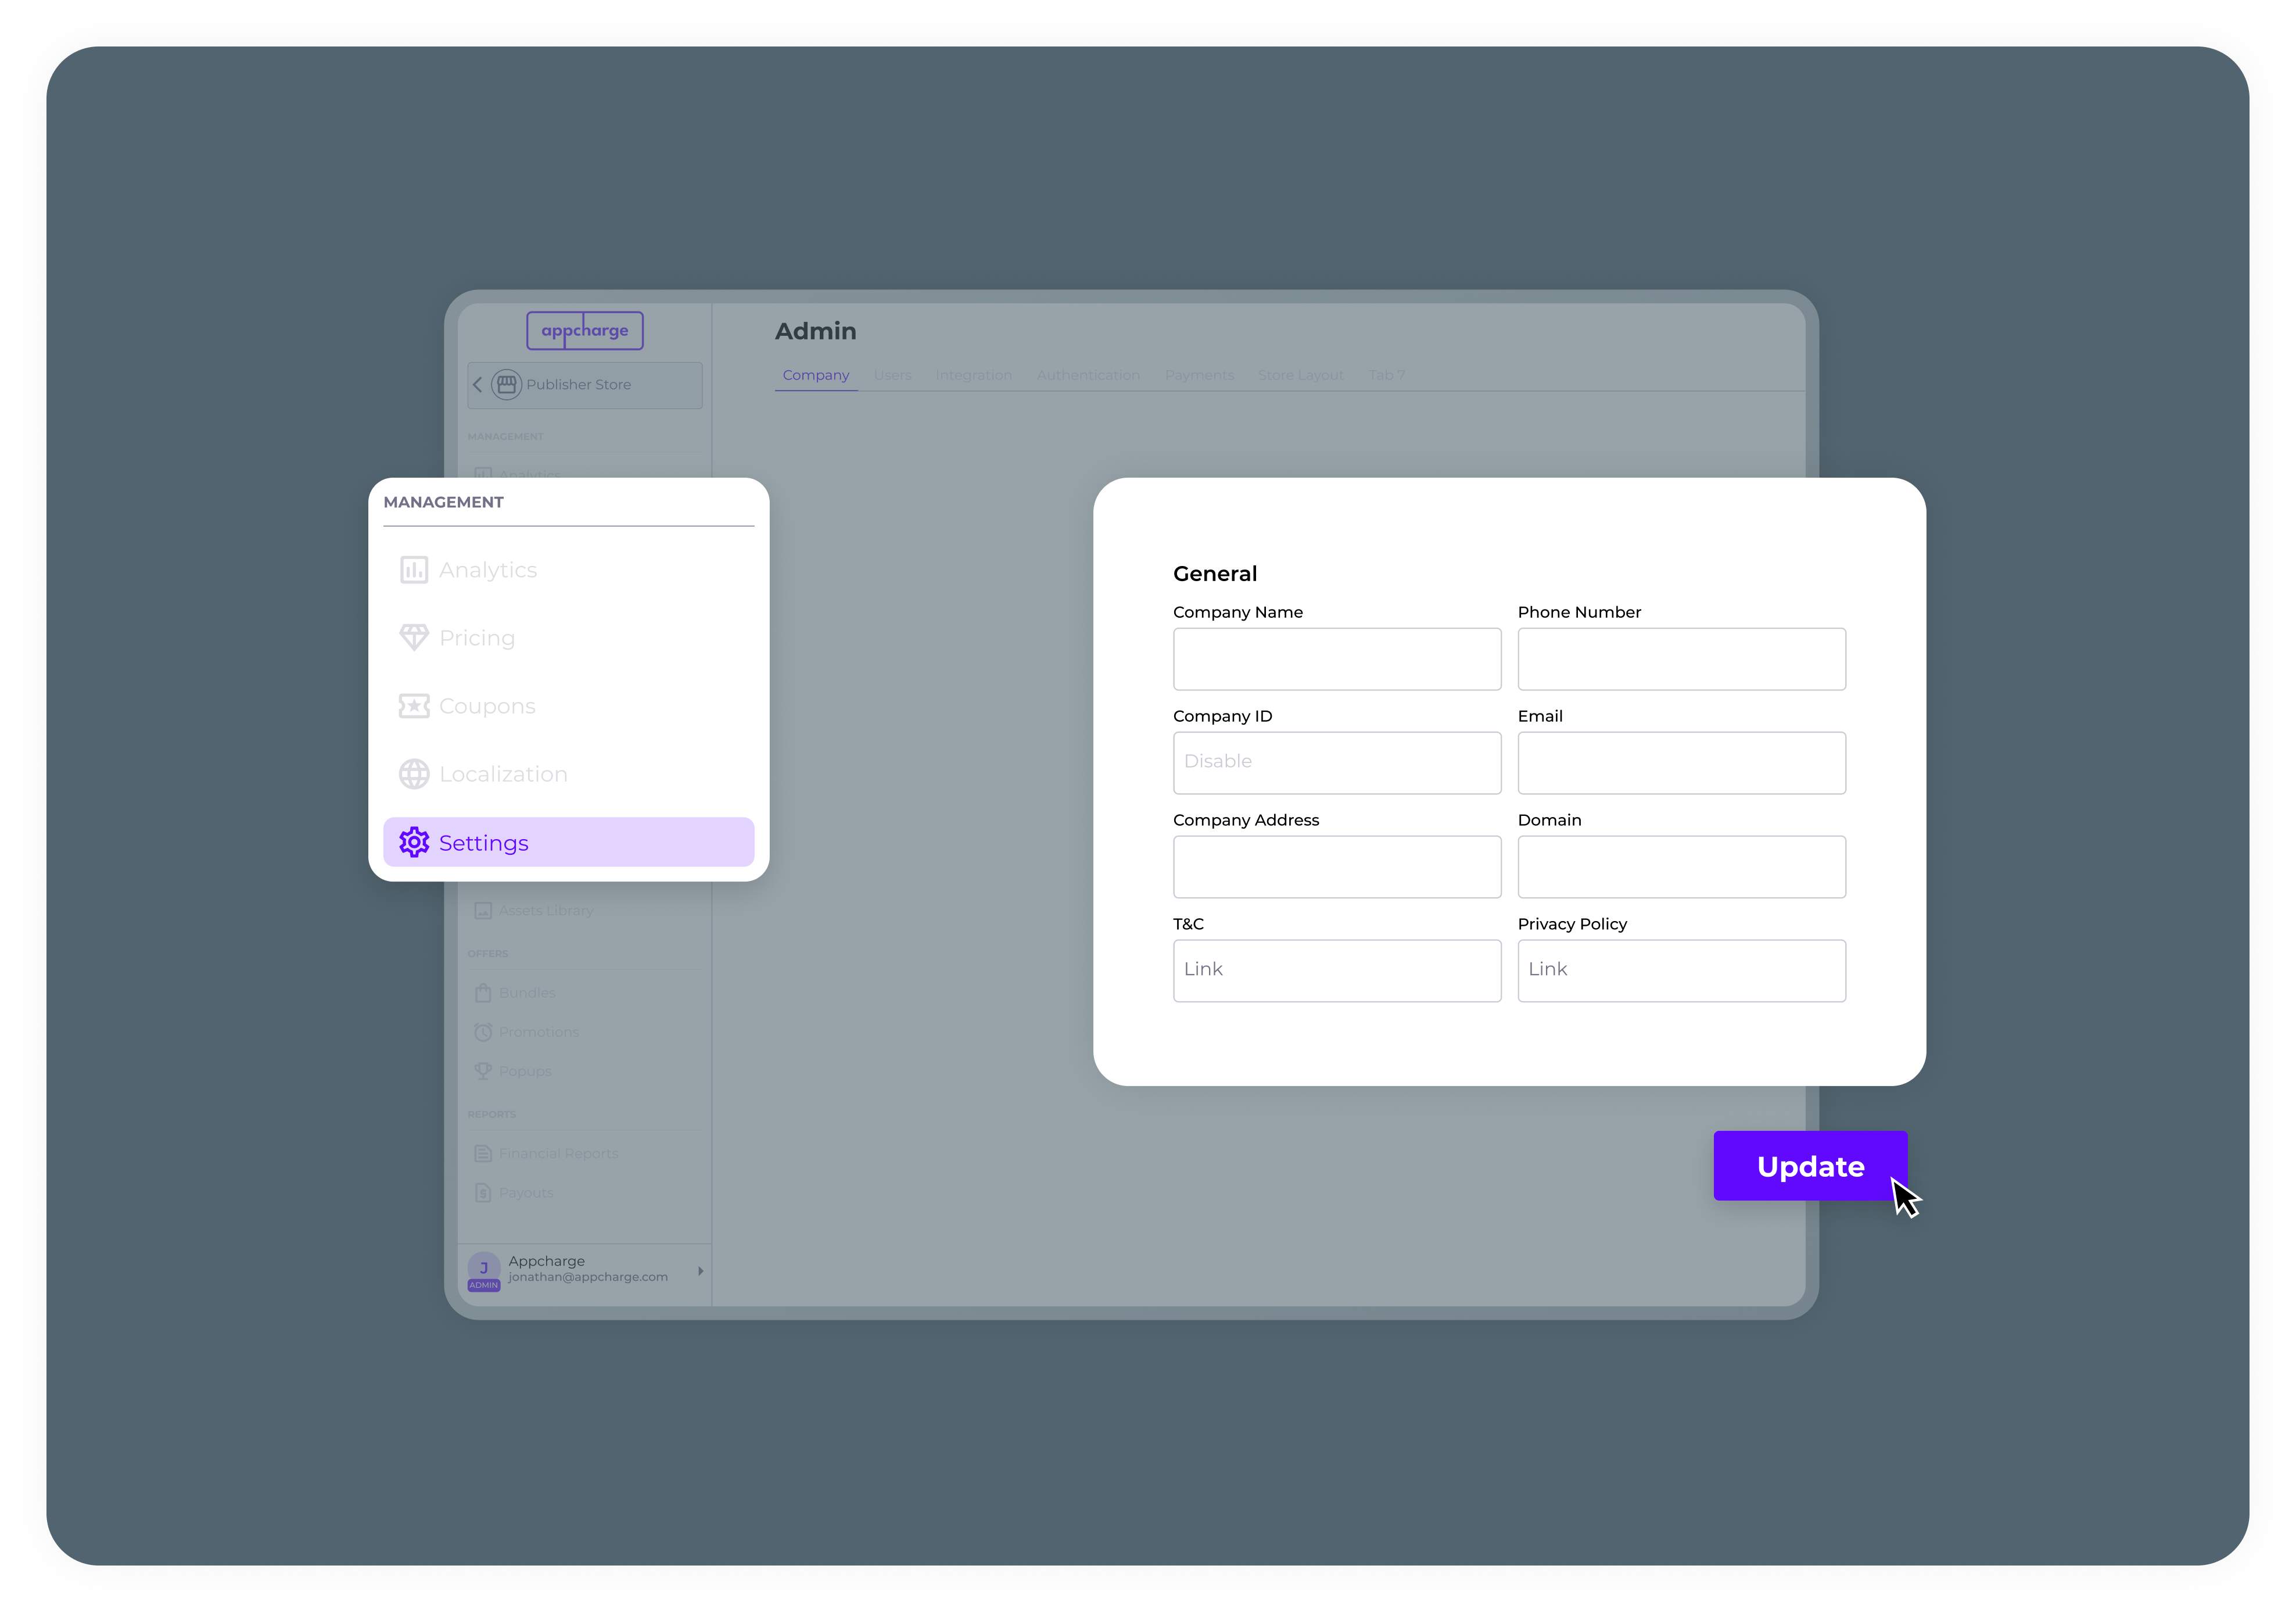
Add your profile settings
To add your profile settings:- Click your profile icon in the bottom left sidebar.
- Select Profile.
- In the Personal Info tab, edit the Name or Email fields.
- Click Update to save.
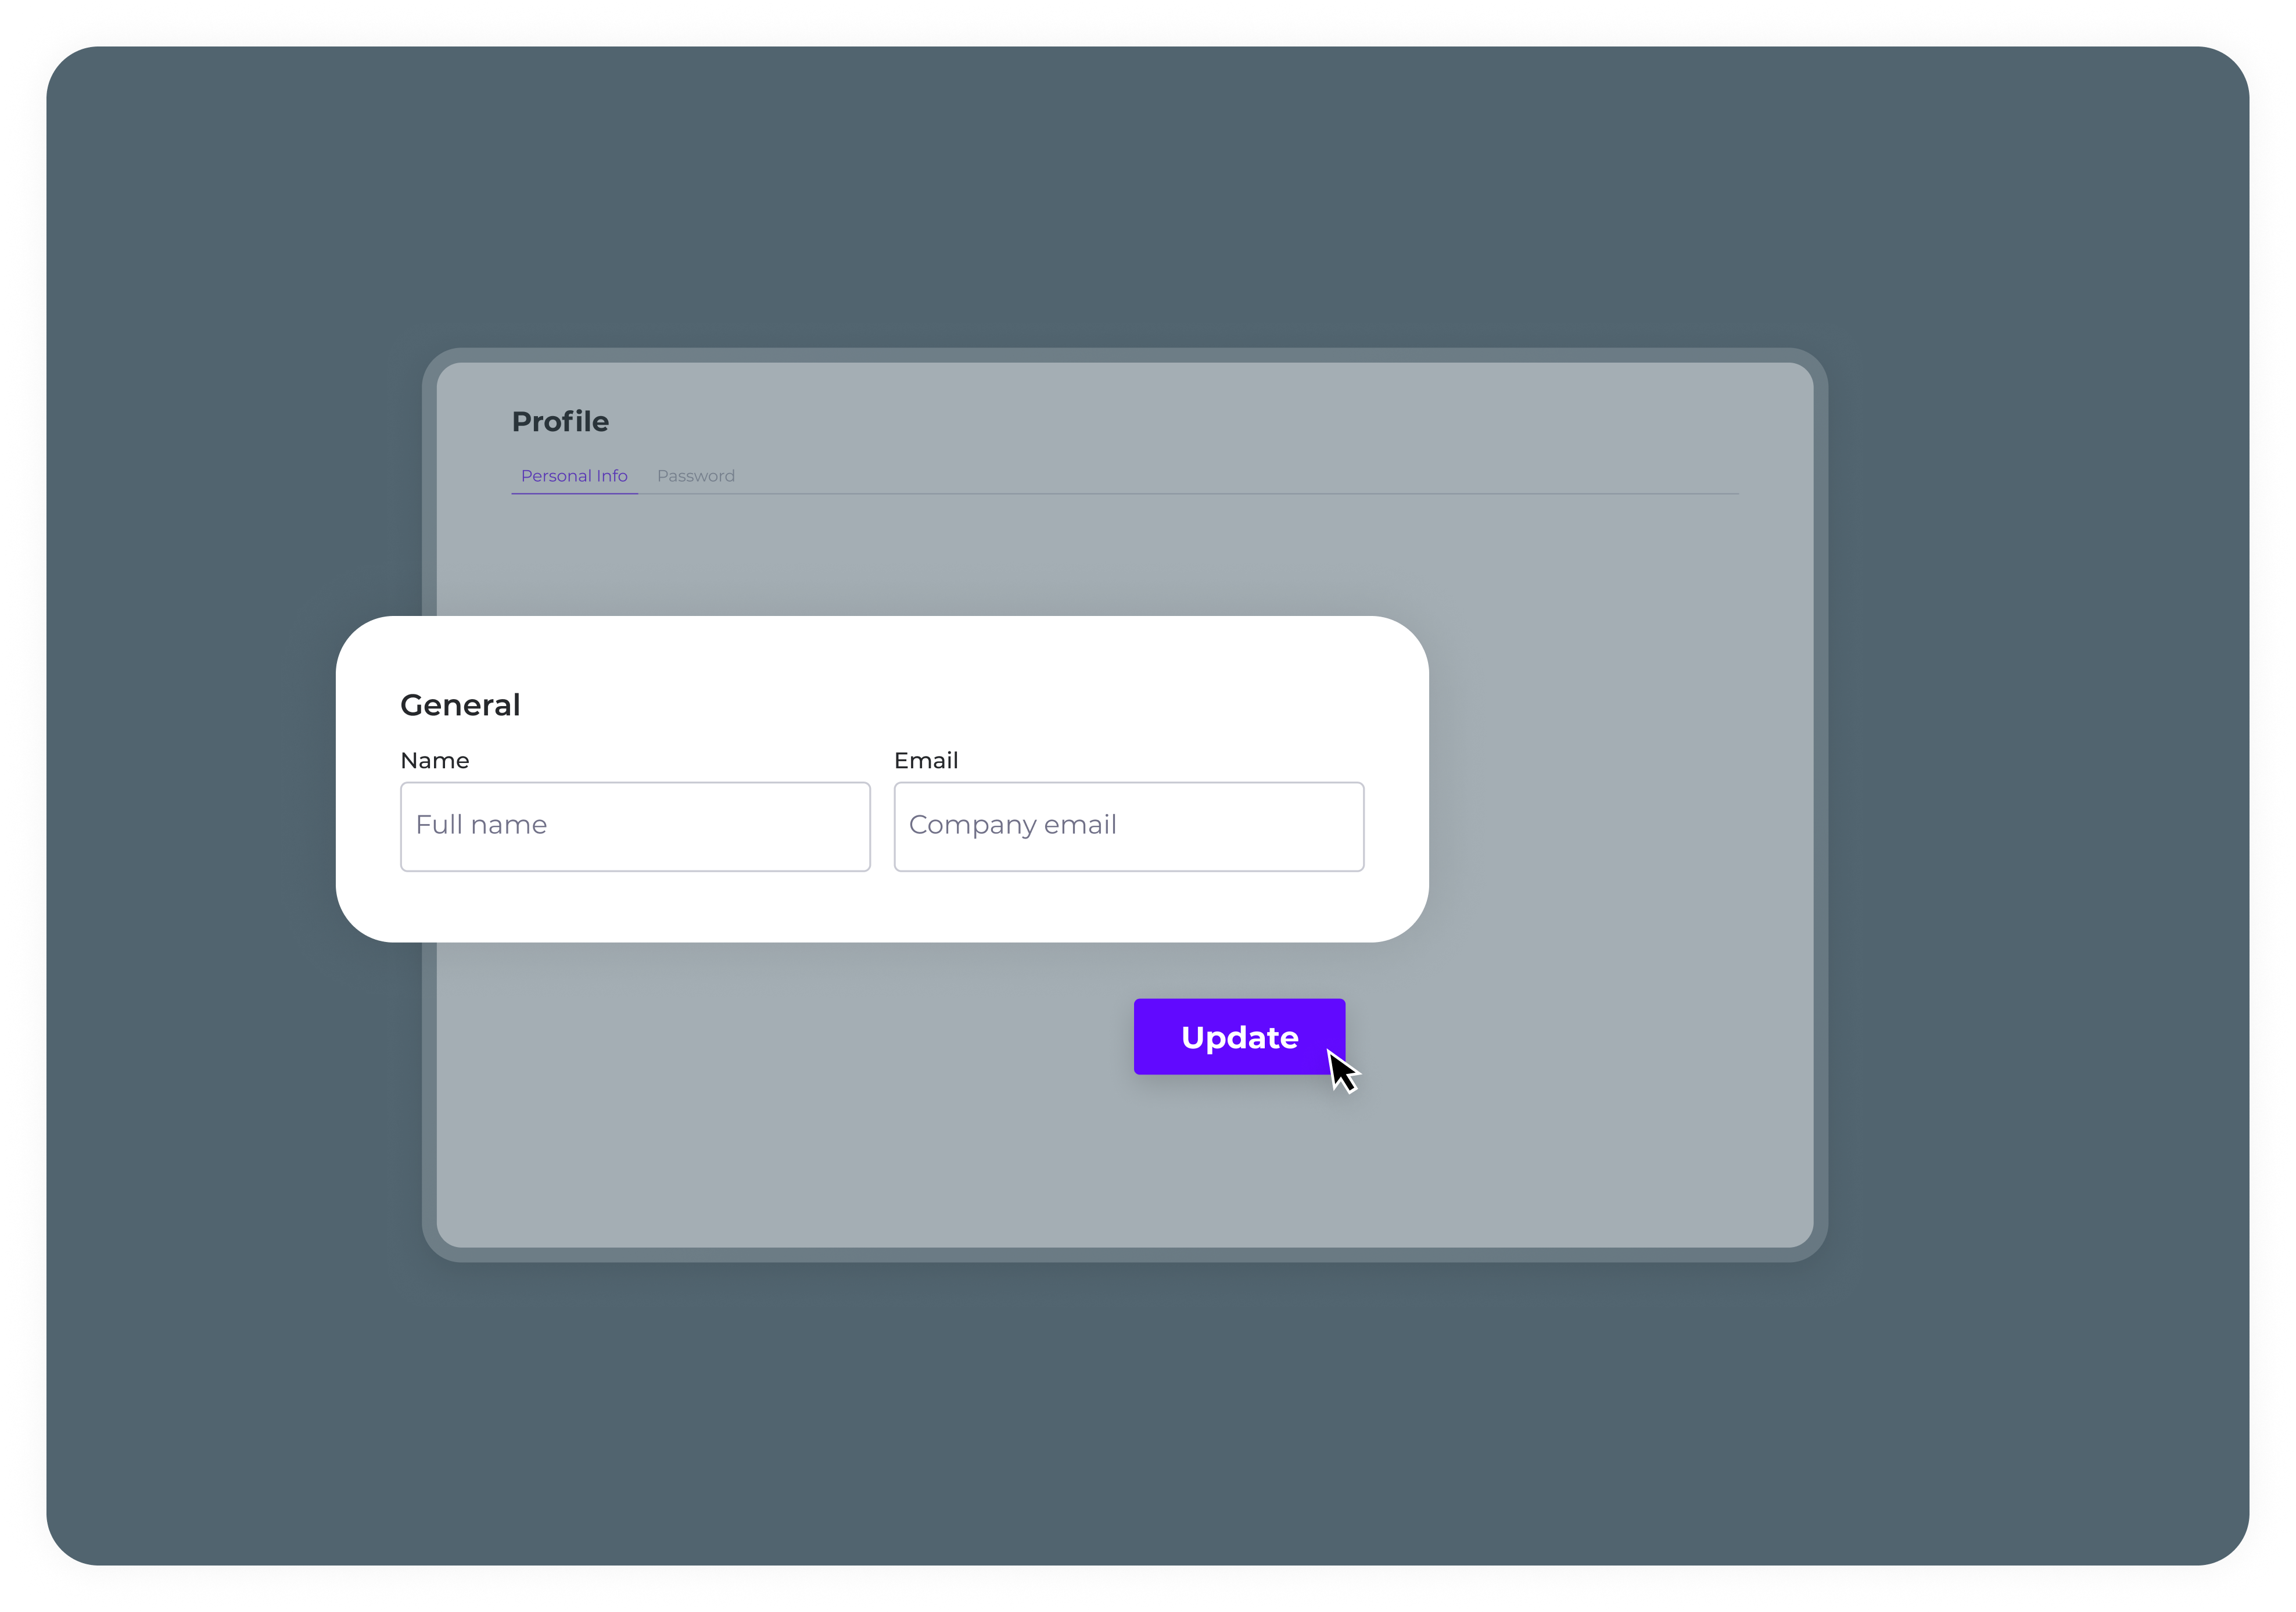
- Go to the Password tab.
- Enter your Current Password.
- Enter and confirm your New Password.
- Click Update to apply the new password.
Manage your user roles
Users can be added to more than one project, allowing them access based on the roles assigned. Each project within a company can have one or several admins. Admins have the authority to add users, assign roles, and manage access across the projects they oversee. Users can have different roles and permissions in each project they are included in.Roles and Permissions
Here is a table summarizing the roles and permissions within the Company Dashboard. The rows represent the permissions, while the columns correspond to the roles.| Permission/Role | Admin | Developer | Project Owner | Operations/Editor | Finance | Support |
|---|---|---|---|---|---|---|
| Analytics | View | None | View | None | View | None |
| Asset Library | Manage | Manage | Manage | Manage | None | None |
| Authentication | Manage | Manage | Manage | None | None | None |
| Badges | Manage | Manage | Manage | Manage | None | View |
| Builder | Manage | Manage | Manage | None | None | None |
| Bundles | Manage | Manage | Manage | Manage | None | View |
| Checkout Links | Manage | Manage | Manage | Manage | None | View |
| Company | Update details + View | Update details + View | Update details + View | Home page only | Home page only | Home page only |
| Coupons | Manage | Manage | Manage | Manage | None | None |
| Event Center | Manage | Manage | Manage | View | View | View |
| Evidence | Submit + View | None | Submit + View | None | Submit + View | Submit + View |
| Financial Report | Generate + View | None | Generate + View | None | Generate + View | None |
| Integration | Manage | Manage | Manage | None | None | None |
| Offer Design | Manage | Manage | Manage | Manage | None | View |
| Offers | Manage | Manage | Manage | Manage | None | View |
| Orders | Refund + View | None | Refund + View | None | Refund + View | Refund + View |
| Payouts | View | None | View | None | View | None |
| Popups | Manage | Manage | Manage | Manage | None | View |
| Portal Content | Manage | Manage | Manage | Manage | None | None |
| Portal Pages | Manage | Manage | Manage | Manage | None | None |
| Pricing | Manage* | View | Manage* | View | View | View |
| Products | Manage | Manage | Manage | Manage | None | View |
| Promotions | Manage | Manage | Manage | Manage | None | View |
| Rolling | Manage | Manage | Manage | Manage | None | View |
| Users | Manage | None | None | None | None | None |
Add a New User
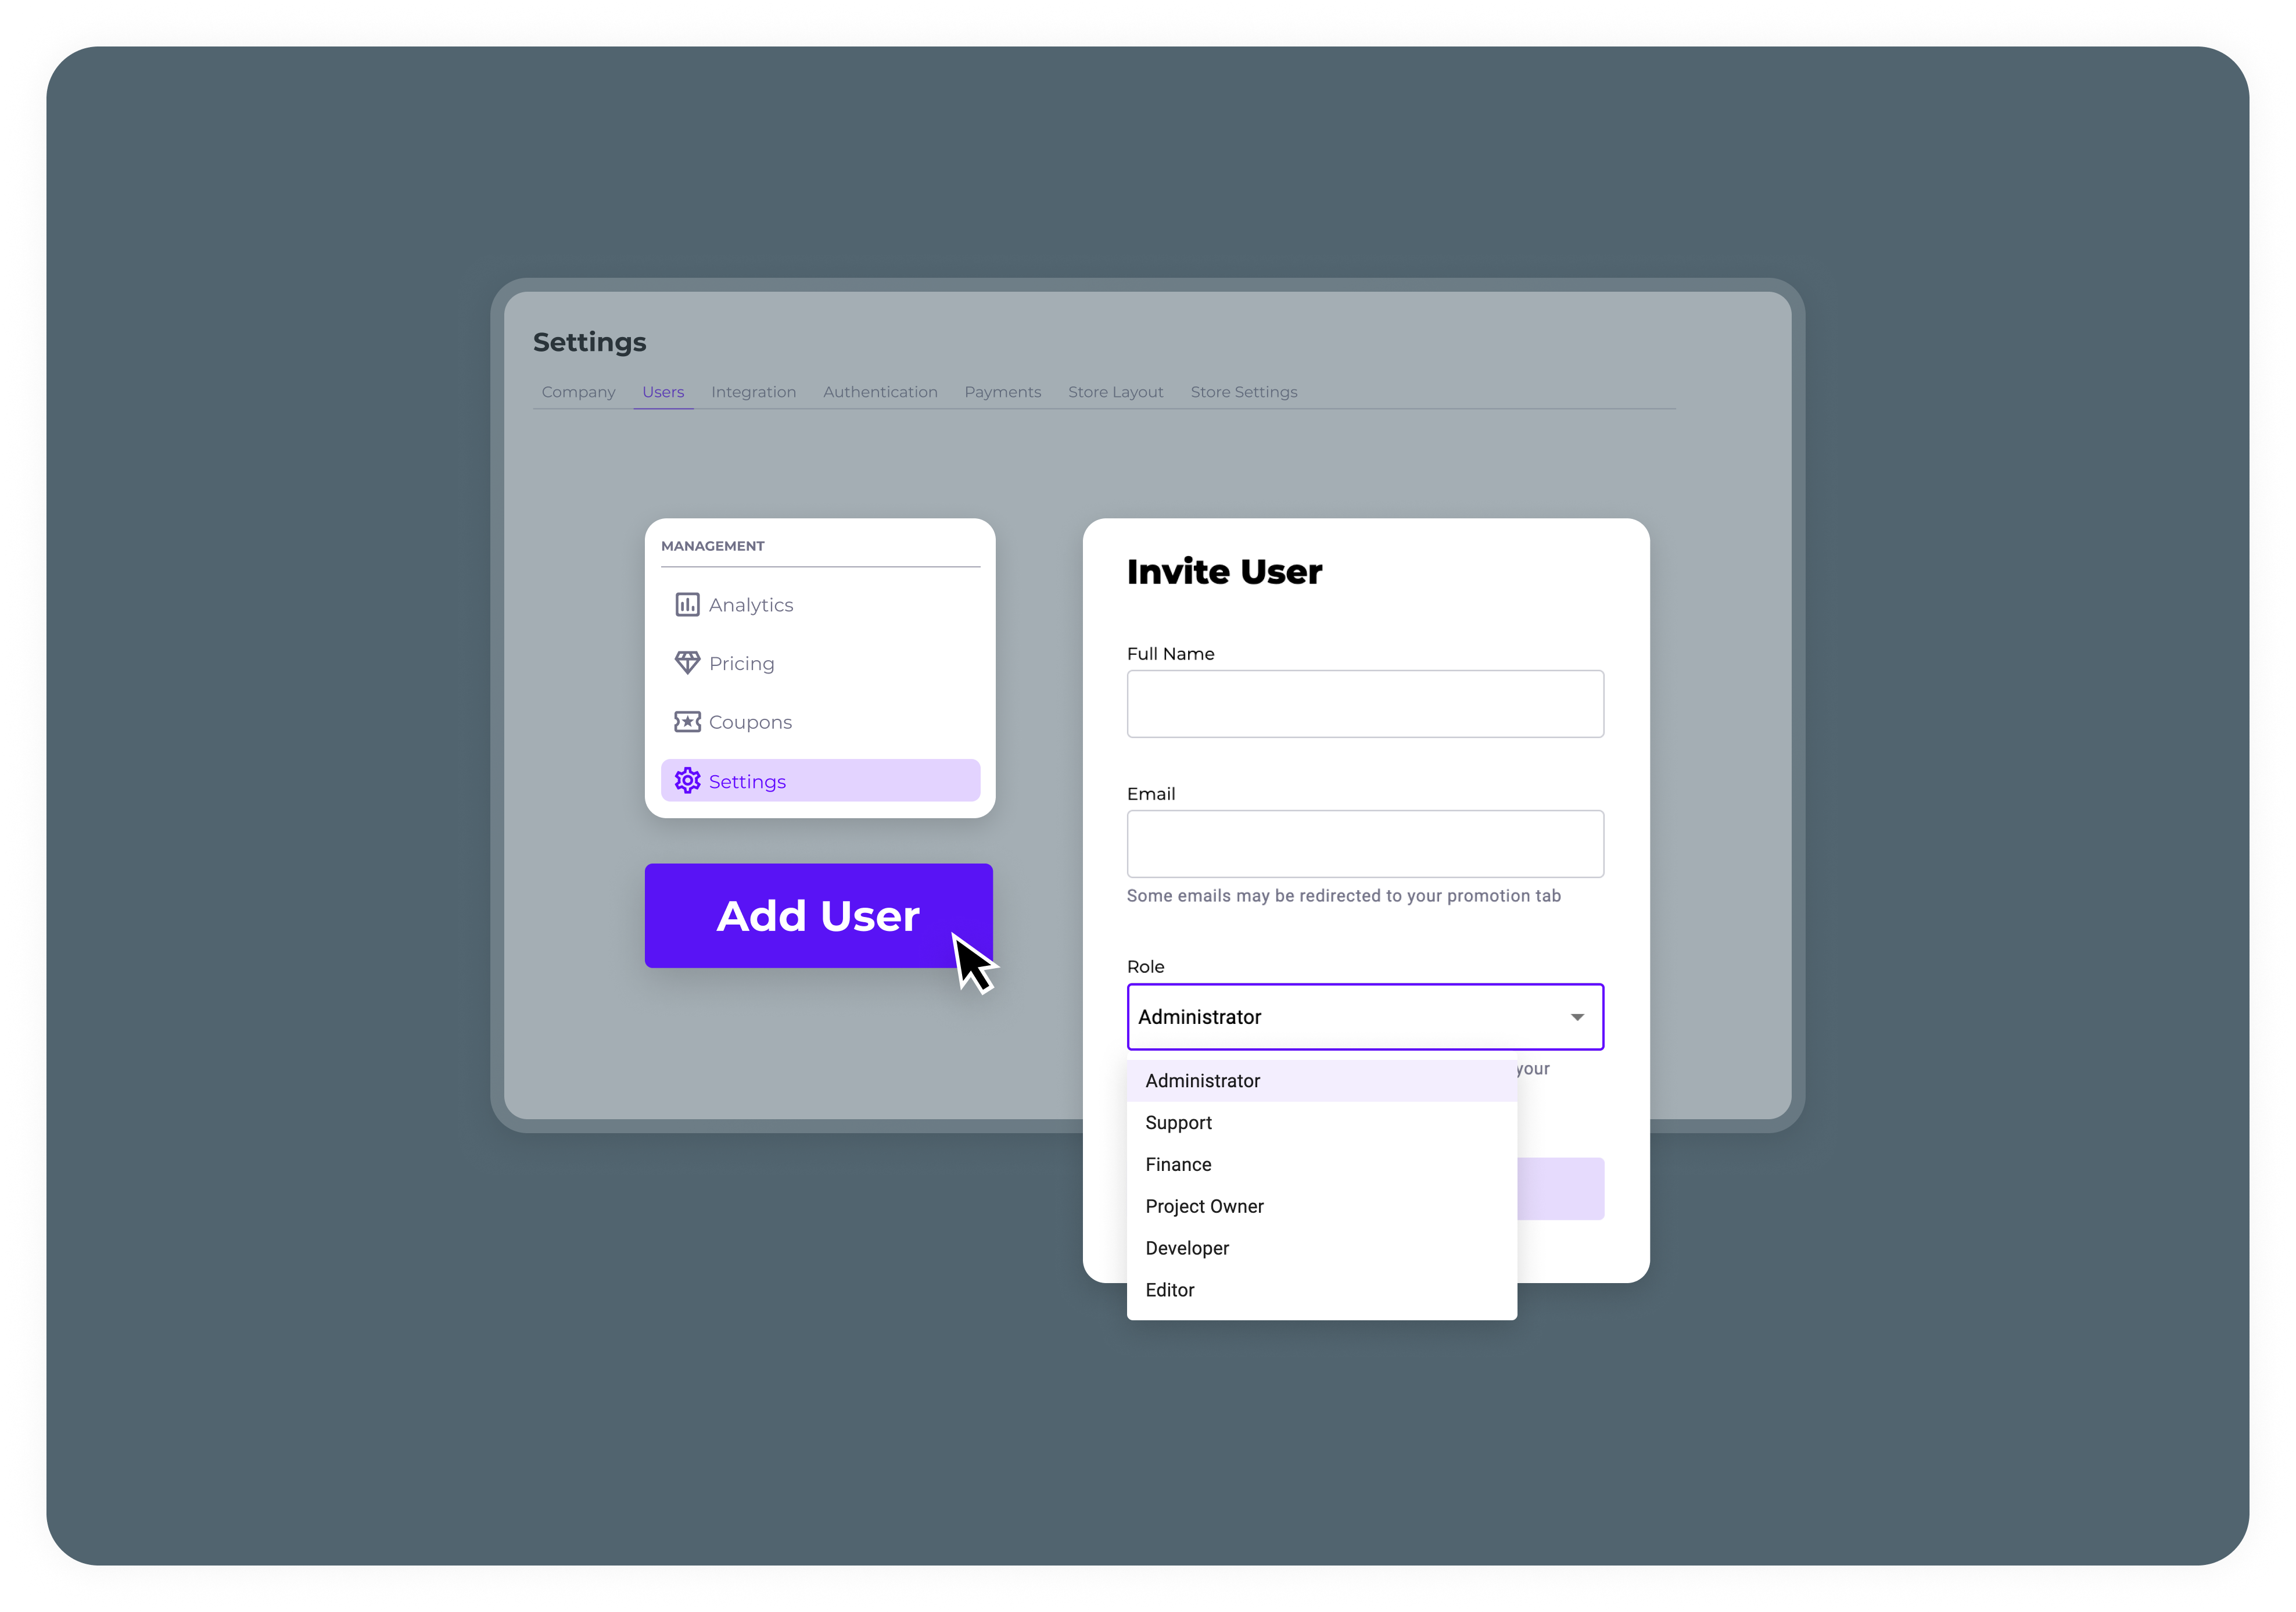
Follow these steps to add a new user to the dashboard. Note that only users with admin privileges can add new users to the Publisher Dashboard.- Open the Appcharge company dashboard.
- Select the project to which you want to add the user.
- Click on the ‘Settings’ tab.
- Go to ‘Users’ in the top menu.
- Click ‘Add User’.
- Fill out the full name and email address of the user you want to add and assign them a role.
- Send Invite.
Delete a User
Note: Only users with admin privileges can remove users from the dashboard. Follow these steps to remove a user to the dashboard:- Open the Appcharge company dashboard.
- Choose the project from which you want to remove the user.
- Click on the ‘Settings’ tab.
- Go to ‘Users’ in the top menu.
- To the right of the user you want to remove, click on the three dots.
- Select ‘Delete’.
- Confirm the deletion to remove the user permanently.
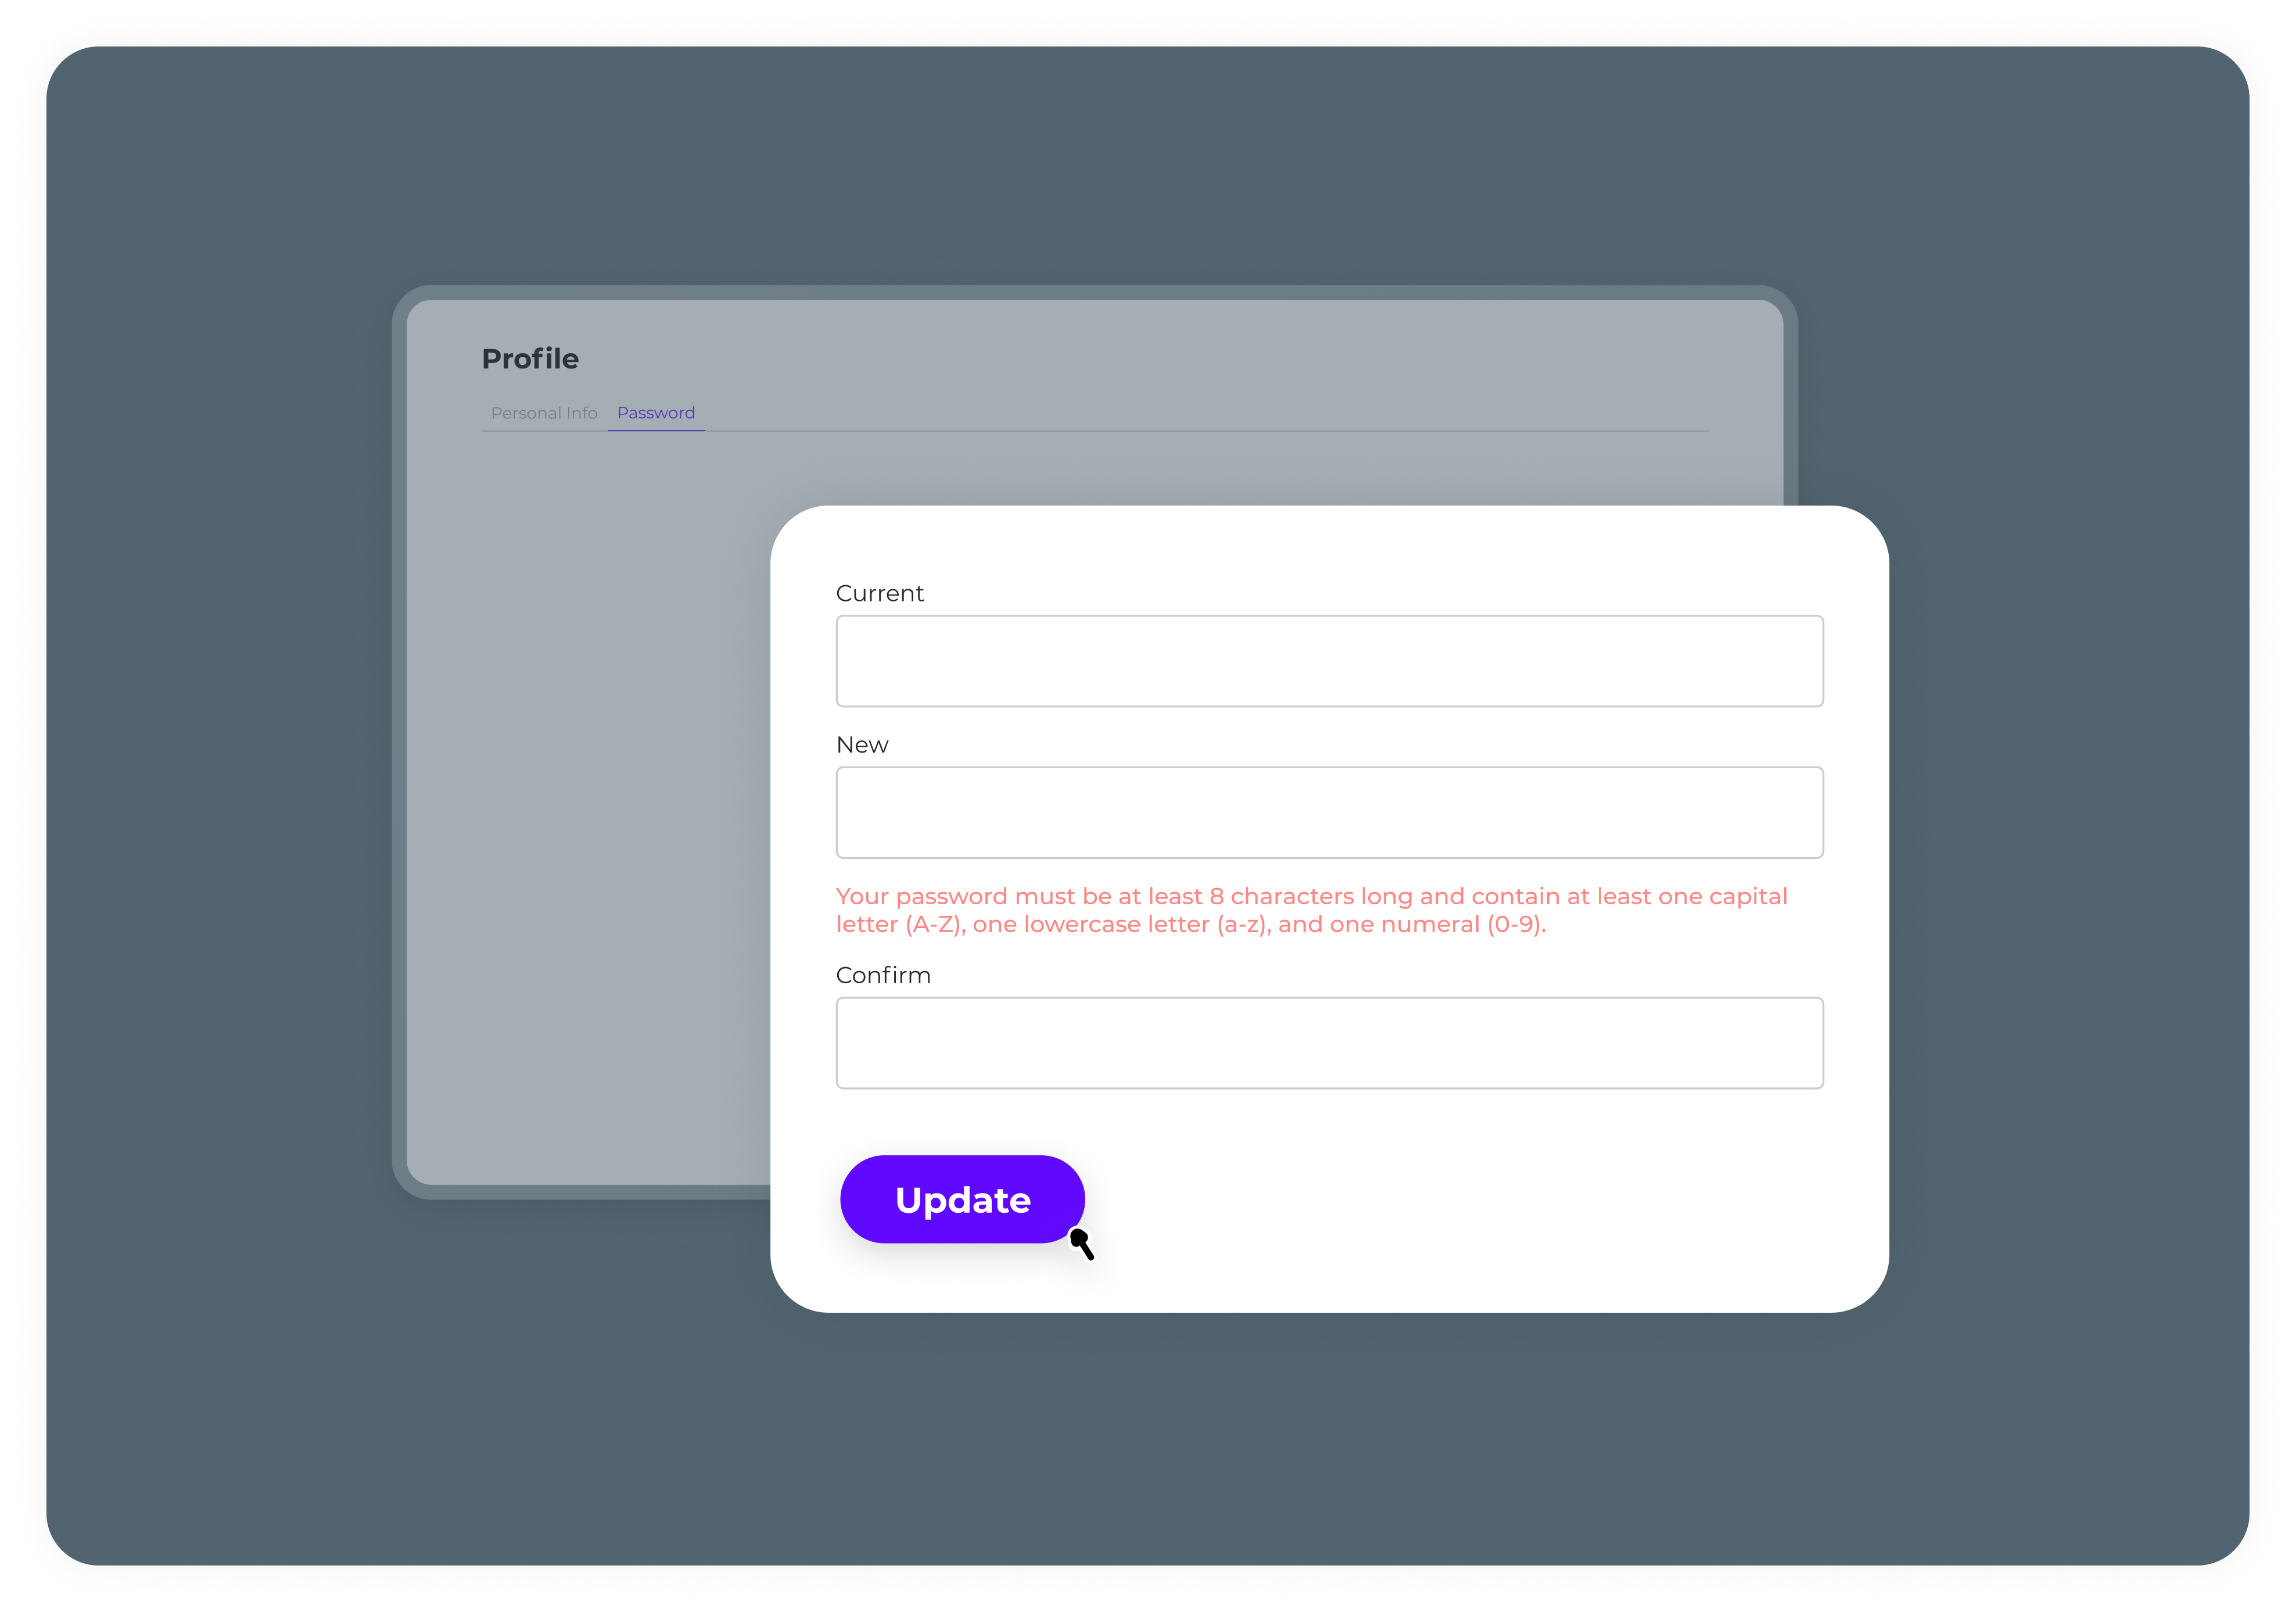
Edit a User’s Role
Note: Only users with admin privileges can edit a user’s role in the dashboard. Follow these steps to edit a user’s role:- Find the user you want to edit.
- Click on their current role to present a drop-down menu of all roles.
- Select the role you want to assign to this user.
- Confirm the changes by clicking ‘Change Role’.
