Add a language
To add a language:- Go to the Localization tab in the Publisher Dashboard.
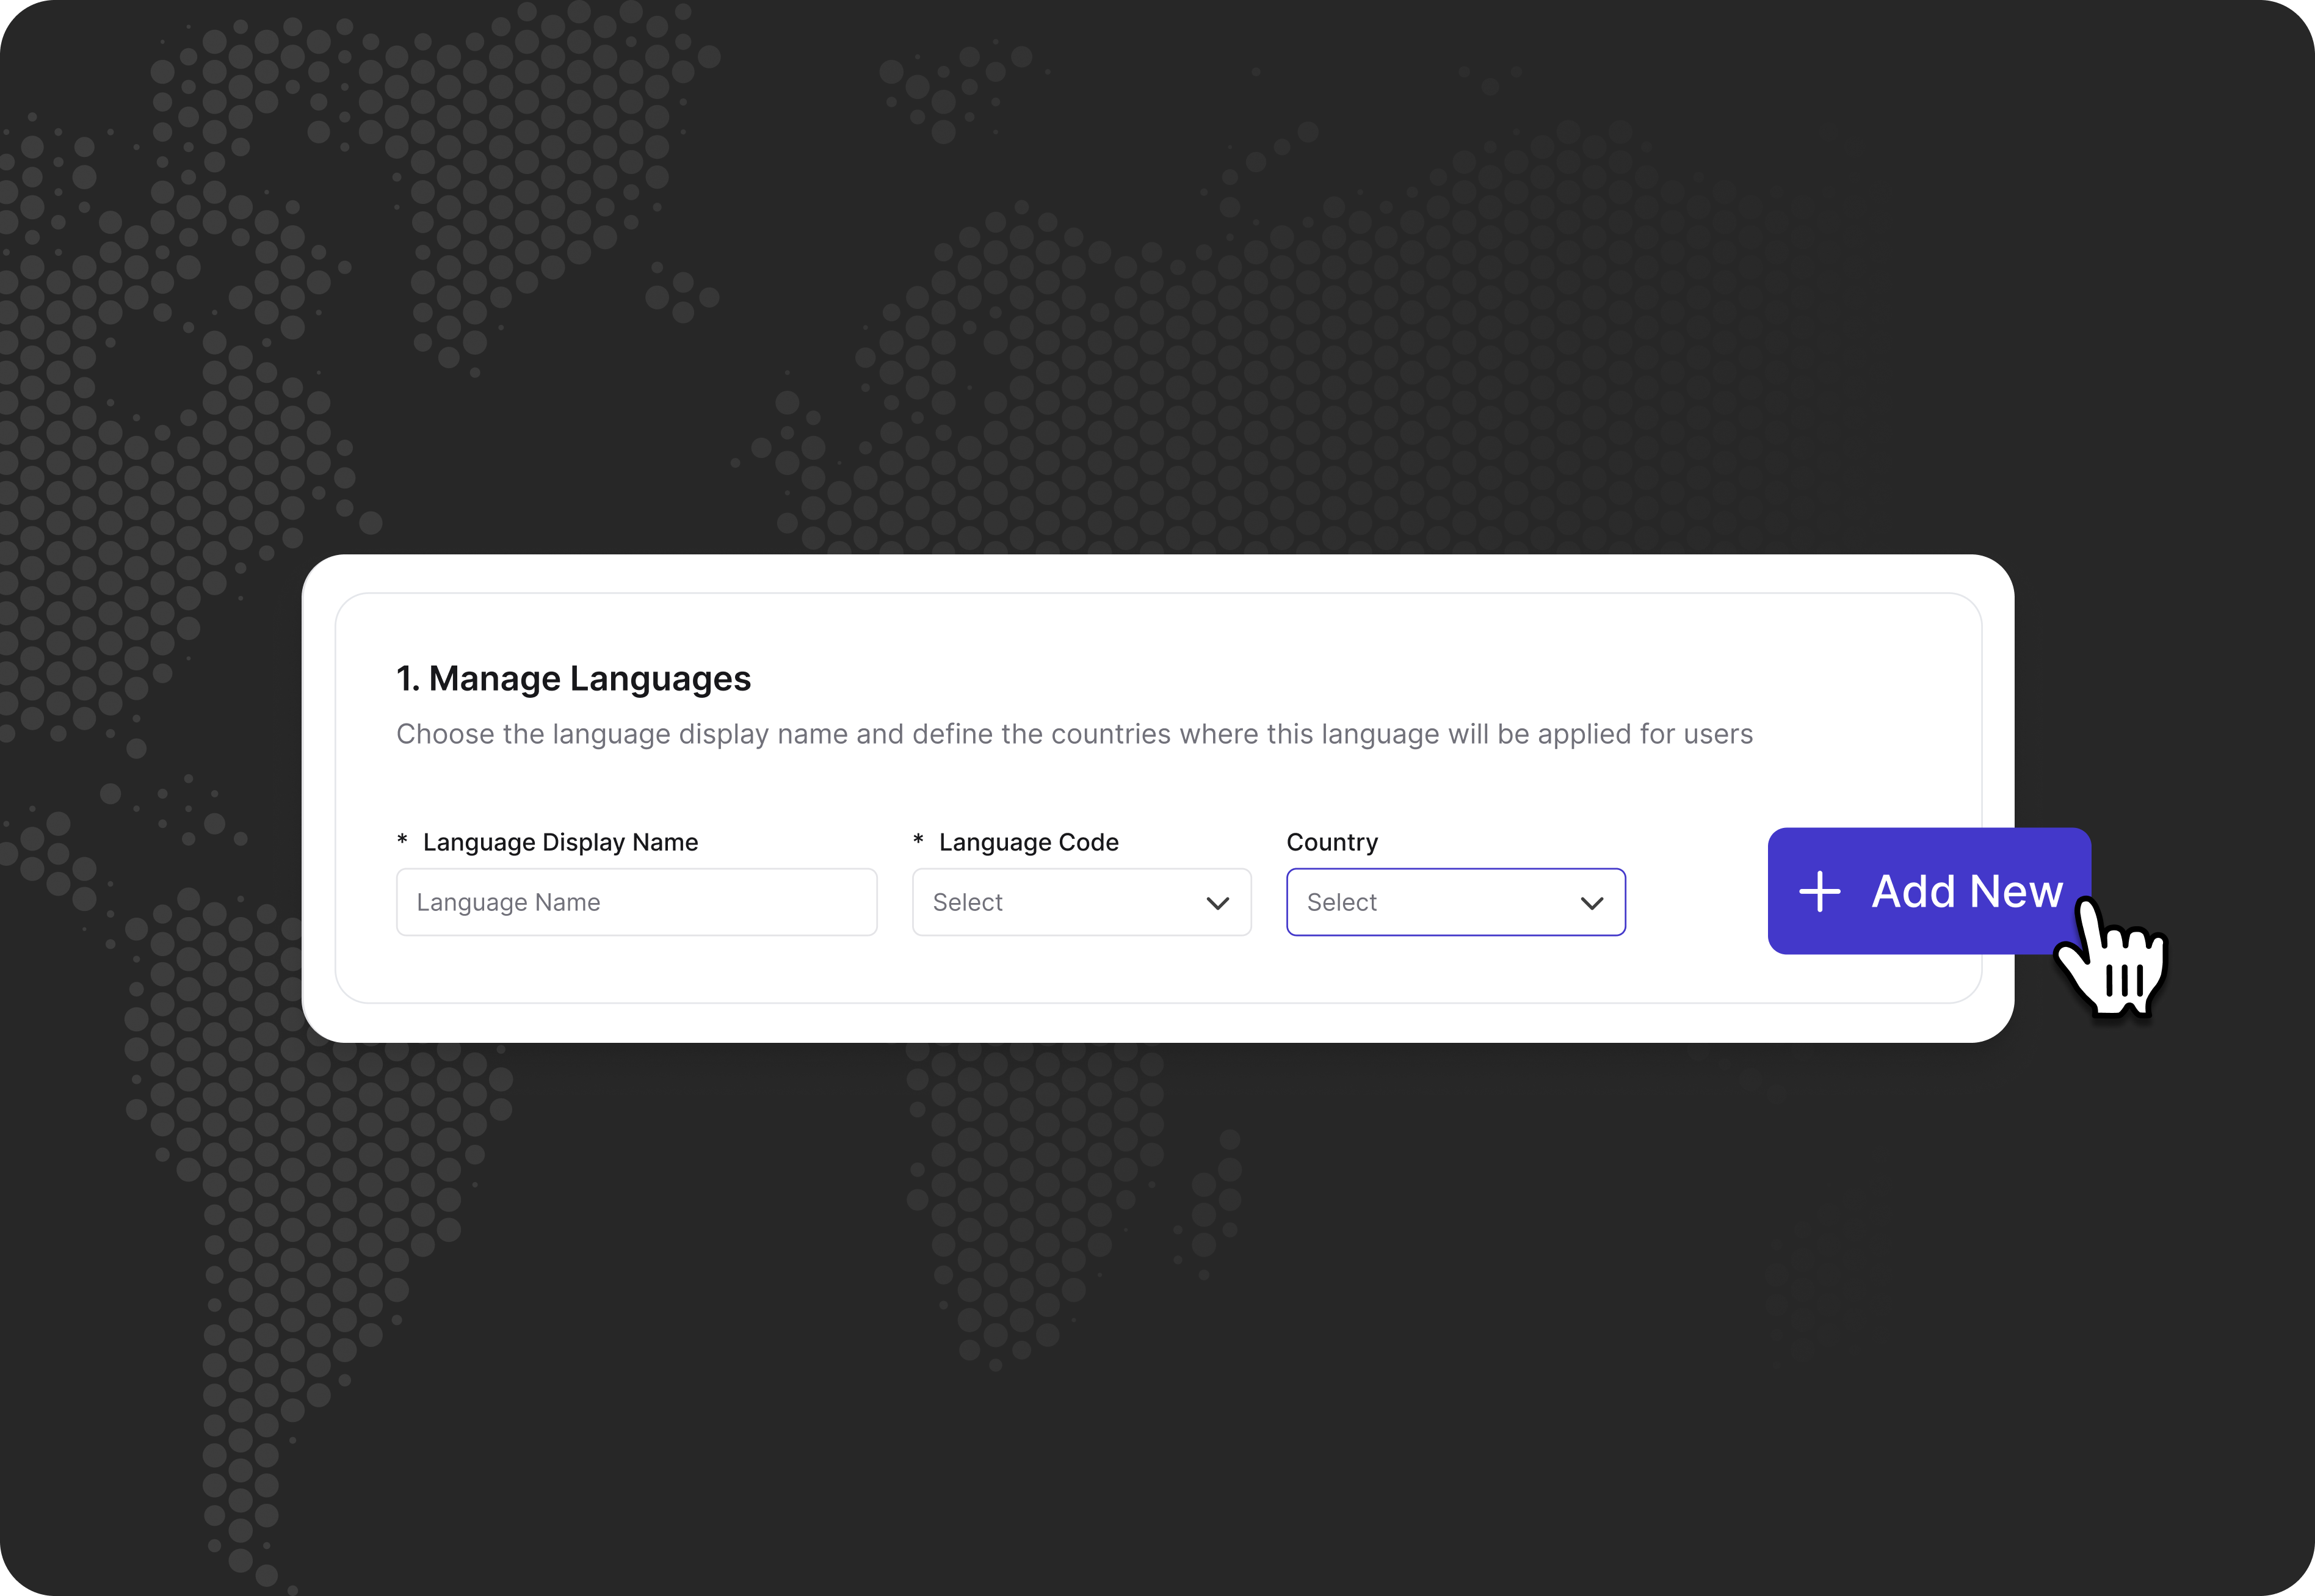
- Under Manage Languages:
- Language Display Name: Enter a display name for the language, such as Español for Spanish.
- Language Code: Select the language code in the dropdown. This code must match the language code provided by your Payment Service Provider (PSP).
- Country: In the dropdown, select one or more countries where this language will be available. Each region can support multiple languages, and each language can be used across multiple regions.
- Click Add New.
- Newly added languages remain inactive and hidden by default until you toggle them on, allowing you to set translations before making the language available to customers.
- For each newly added language, a new column is created in the CSV files, and a new object is added to the API for each field.
Enable or disable a language
To enable a language, toggle it on, and to disable a language, toggle it off.Edit a language
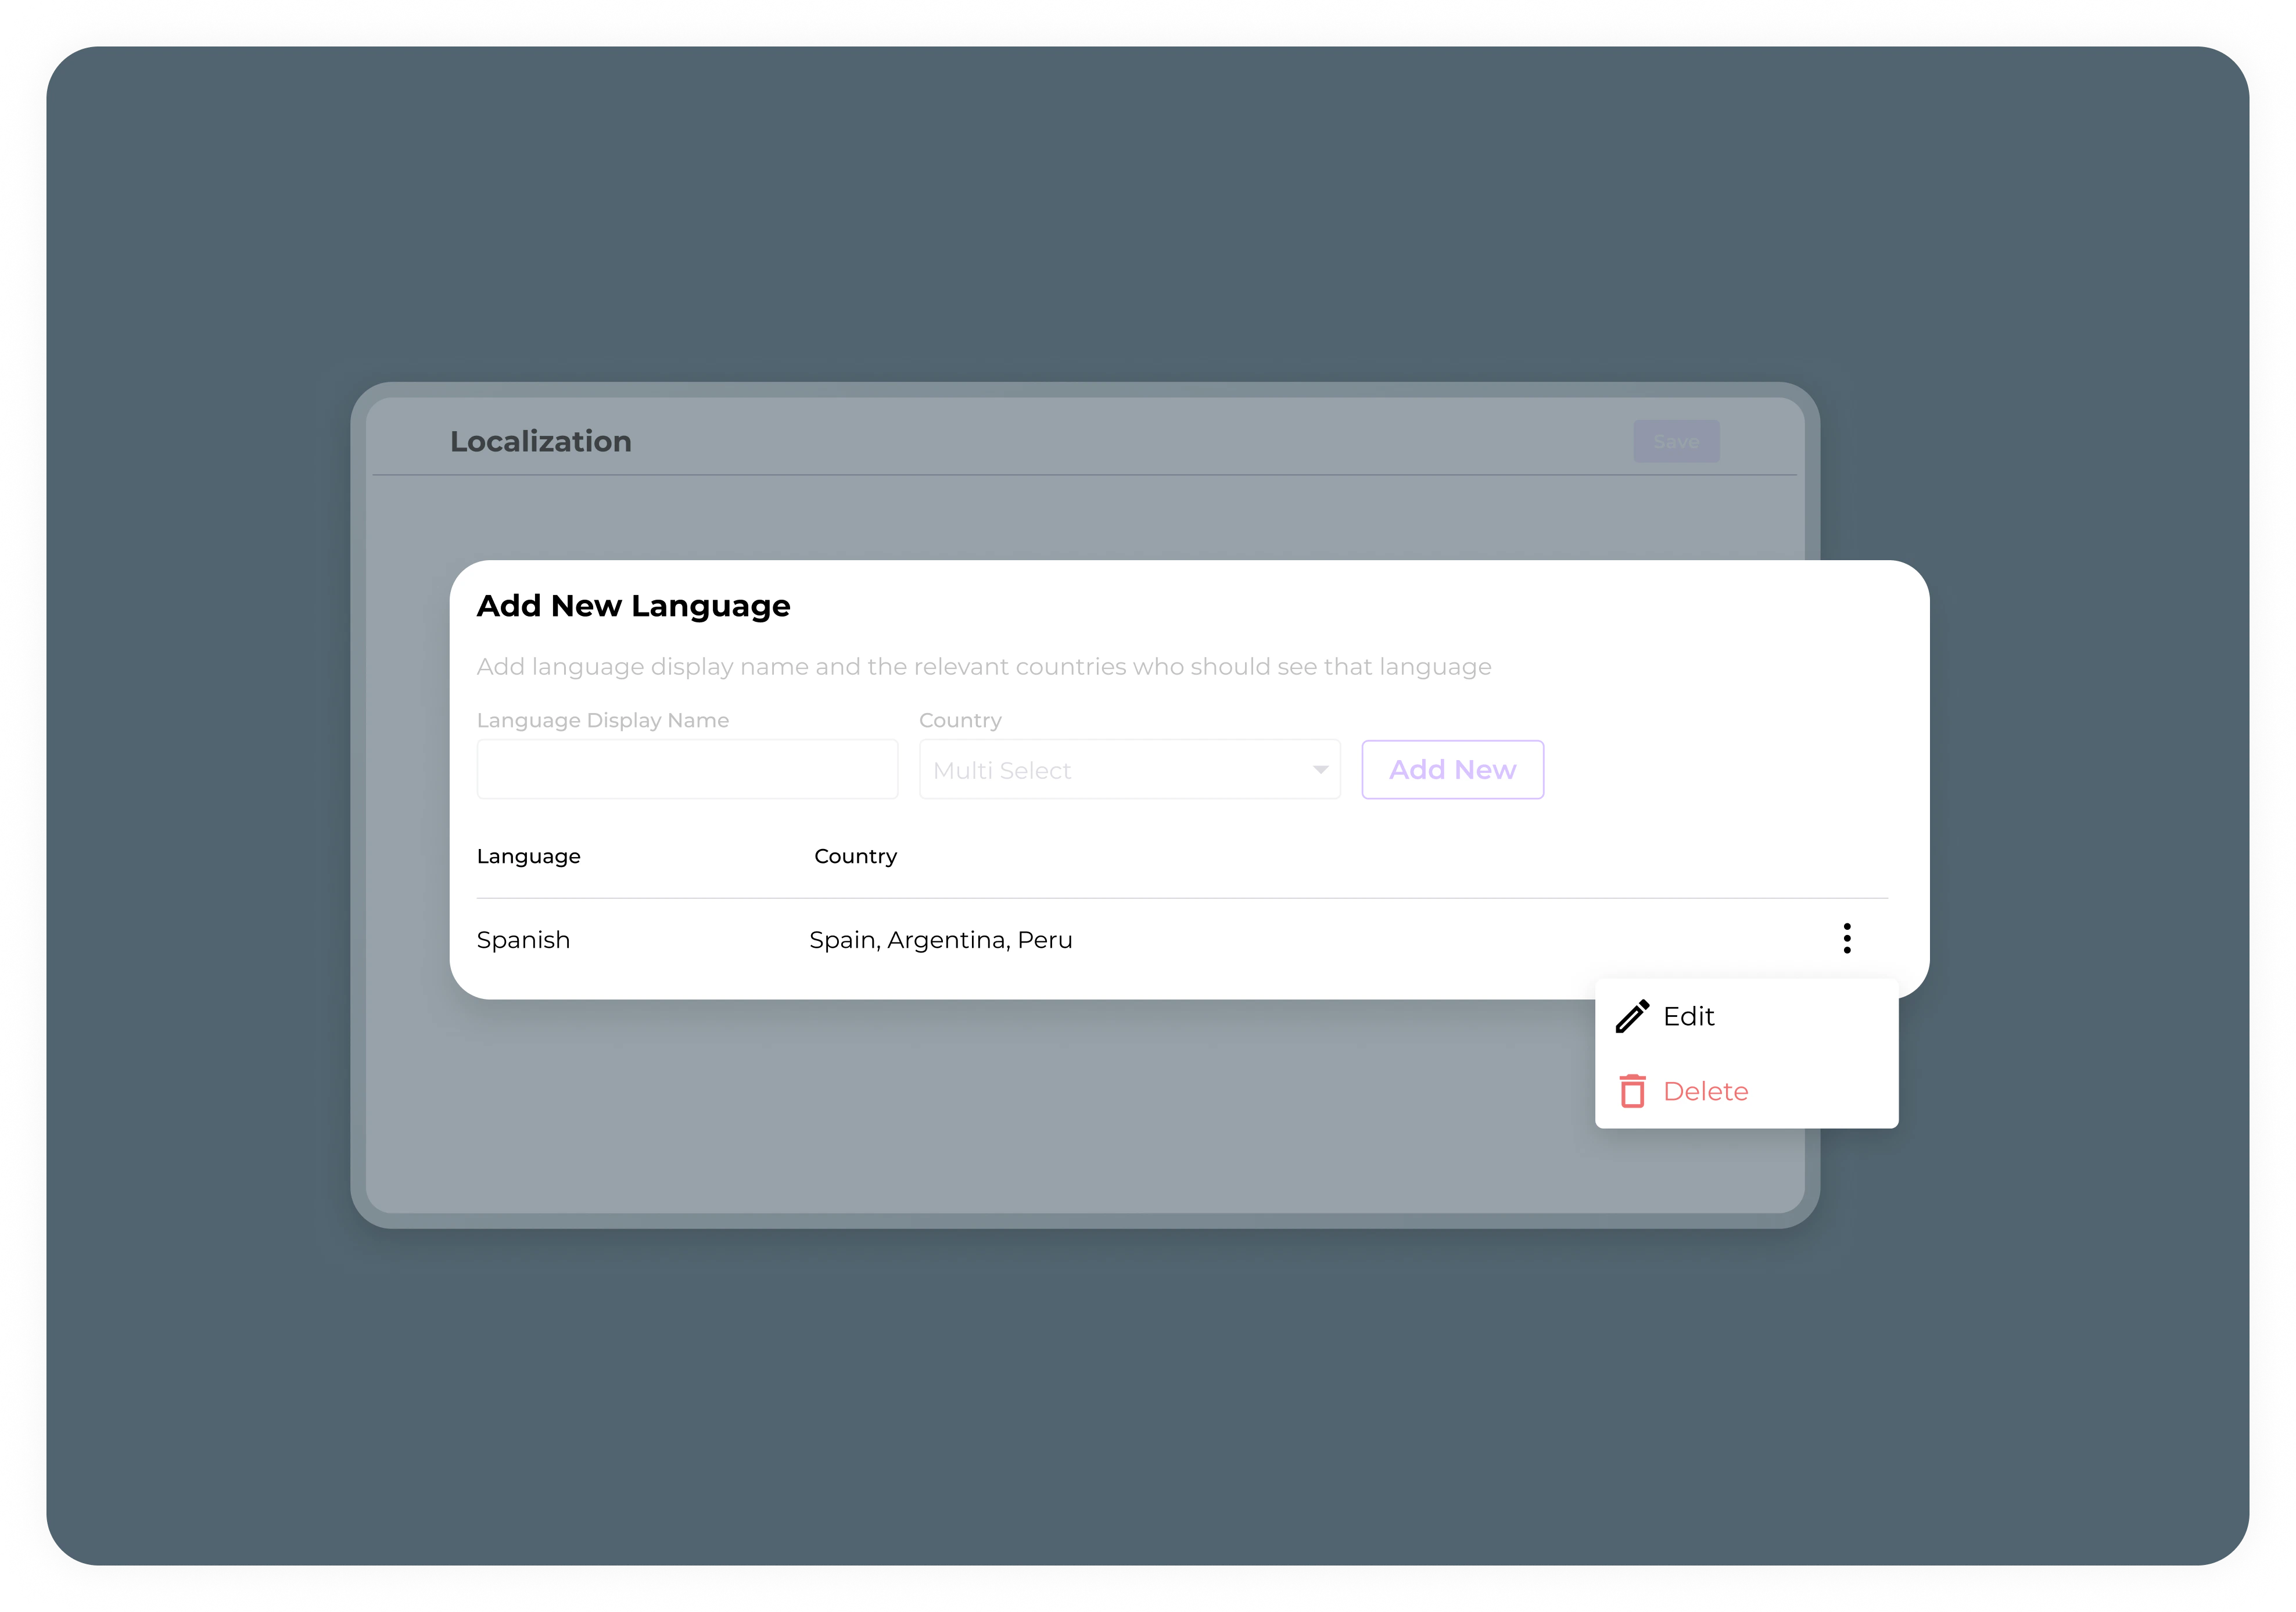
To edit a language:- Click the 3 dots next to the language you want to edit.
- Update the language details as desired.
- Click Save.
Remove a language
To remove a language:- Click the 3 dots next to the language you want to delete.
- Click Delete, and then Approve.
Removing a language deletes its column from the CSV files in the Publisher Dashboard.